Category: Student work

“above”, “below” and “straight on”

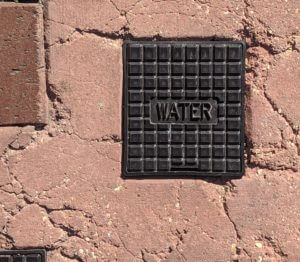
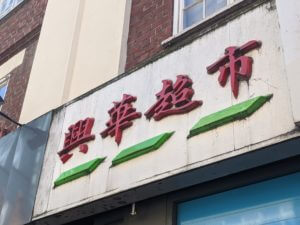
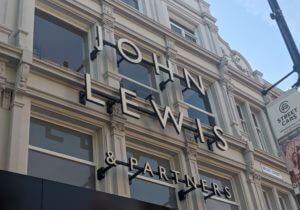
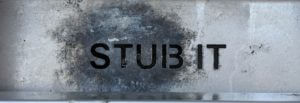
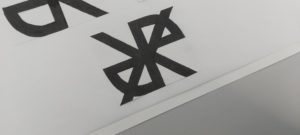
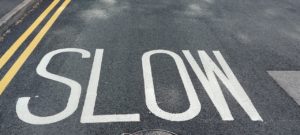
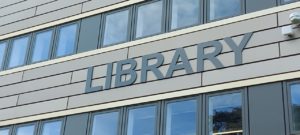
During Eric’s session on Monday, we were asked to venture outside and photograph examples of typography in the environment that caught our eye. I found the task interesting as it encouraged me to look at typography in a different way. I found myself paying more attention to the use of typography in the environment, how it was positioned, and the material it was made from.

We were given a couple of hours to take our photos before we went back to present three of our favourite outcomes, and discussed them with the group. It was interesting to see how all of our images differed from one another and who photographed similar examples.

We were then asked to edit and organise our images in a method of our choice. I found editing the photos an enjoyable task and decided to organise them based on perspective. I had three folders labelled “above”, “below” and “straight on” and organised them depending on how I had to capture the object.

Here are some of my favourite outcomes from the session.

Work

In Sara’s project, I created and shot a set of images that represented the noun ‘work.’ On my first slide, I show a work colleague sat at his desk designing, this is then accompanied by an illustration of his desk.

For the contrasting image, I decided to play with the idea of bullying in the workplace. This is shown by the fingers pointing at him. On reflection, if I’d had more time, I definitely would have liked to convey the ‘bullying’ scenario better. This could have been by adding a phone onto the desk illustration which showed threatening or degrading text messages.

If I were to do this project again, I would spend more time on the contrasting image and create a stronger link between the two juxtaposed images.

A learning curve

Our brief for this project was to create a graphic representation of our initials using either Futura or Garamond. To start with I simply brainstormed and sketched out a few ideas in both fonts. I chose to continue my exploration with the Futura font for the rest of the task as I felt that my initials were much clearer this way when attempting to merge them. I was struggling to find combinations and solutions due to my first initial, Y, being so angular and my second initial, C being the exact opposite. To combat this I drew and cut out the letters to experiment with them physically. This helped me massively as I could now visualise what my monogram could look like a lot easier, therefore allowing me to be more creative and push my experimentation further.

For my final design, I chose to combine two of my ideas, as you can see in the image above. Once I had finalised the structure of the design I then had a little extra time to experiment with colour. I chose to do black and purple for my first attempt with colour but found it was a little too dark and so didn’t stand out as much as I would have liked. For my second attempt, I chose light blue and orange. I went with light blue as it is the colour often associated with the city that I am from and seeing as it was my initials I thought this fit quite nicely. I chose orange purely for aesthetic reasons, as it made the monogram stand out just that little bit more.

Britain

The word I was given to work with, was the word ‘Britain’.  Immediately these images popped into my head; the Union Jack, the Pound Sterling, the Queen, Scones and tea, red telephone boxes, black cabs, the Big Ben, and Buckingham Palace.

However, I wanted to stick to simplicity. I wanted people to immediately recognise the word ‘Britain’ in my work, and to me that meant using the map of Great Britain, and the Union Jack, which symbolises the union between the four nations. I did not want to overcrowd my image and make it confusing. I wanted my work to be simple, yet effective.

The stitching within my first image symbolises that the four nations were sown together in the past to form Great Britain, but in recent years and since Brexit negotiations started, there has been tension, and so the stitches have come undone in places (seen in image two with the scissors).

I placed the scissors at the left top corner between Northern Ireland and Scotland, because that is where the most tension lies within the union of Britain due to Brexit negotiations. It also visually balances the weight of the strong Union Jack on the bottom right corner.  The scissors depict the looming threat that Britain as we know it, might look different in future if some of the nations cut themselves loose to be independent.

I created my first image on tracing paper with paint, which did not work very well because it made the tracing fold, so I created the second image on normal paper. The paint also didn’t stick to the tracing paper very well and therefore the second image appears darker.


Hannahsmithosis

Brief 

To create a monogram, a graphic representation of your name. Develop ideas of ways your first initial could transform into your second initial – a metamorphosis.

Process

We had the choice between Futura (san serif) and Garamond (serif). Though I began open to both fonts, I was drawn to Garamond because I really like the added detail in the serif and found that the letters created more interesting shapes to play with. My early ideas were playing with the H and S in capitals, however I quickly found it was hard to blend the two together. Therefore I explored the option of using the lower case of each of these letters.

(Preliminary sketches)

Garamond is quite a round font and so when I put the lower case ‘s’ inside the lower case ‘h’ I found they blended really nicely. I had thought I’d need to scale down the ‘s’ for it to fit the ‘h’ counter but both letters were consistent with the x-height so no alterations in size were needed. Once paired, I thought it would be interesting to play with the negative space as a means of forming the monogram. My idea was to keep it quite simple and minimal but my first draft proved to be too abstract for this brief. The ‘s’ was the only prevalent letter. To rectify this I added a rectangular block to represent the negative space to the left of the stem belonging to the ‘h’, this gave me the opportunity to display the serifs.

Another modification which increased the readability of the ‘h’ was that I decided to follow the shoulder of the ‘h’ rather than the ‘s’. This is why the top of the ‘s’ is thicker than that at the bottom. However I think it works well in this design as it blends the two letters together nicely and is not too noticeable.

As a final exploration I wanted to experiment with adding a matching block to the right side of the monogram, to mirror that of the left. I did this because I wasn’t sure if it looked unfinished having it on just the one side. Adding the second bar however created a black box around my monogram and in some ways made it too obvious. It gave the whole shape away. I really like in my final monogram how you get to look for the finished shape a bit. The eye is taken down the right hand side of the shape through the point and so naturally completes the shape. This I found to be a much better ending than to simply box in the monogram.

(block vs box)


(Final monogram)

An exploration of protest

For this task we were challenged to create two similar images- one that perfectly encapsulates the keyword and another that would change the meaning. My word was ‘Protest’. At first I had difficulty figuring out where to go as protest could mean so many different things, it meant I found it hard sticking to an idea. Eventually I decided to explore two variations of protest, one being huge organised protest in which large groups of people come together, and the other being a more individual and vulnerable protest. The oppressive force in both of these images would be the policeman, due to the recent examples of police brutality throughout the world as well as that same brutality but on a much more personal scale (for instance, domestic violence). Both images include the policeman in full riot gear, with one of them having silhouetted protesters in the foreground, and the other having a mother and child. I definitely think I could have detailed these images better to perhaps push further the idea as I don’t think it is easy enough to understand without the explanation with it.