Category: RFT film flyer (James’s project)

Reading Movie Time

Reading Film Theater final

The project was to design a Reading movie leaflet for an International audience and family.

It was difficult to try and put all the information in (2) two columns at the same time make it legible and readable for the target audience but over some time I was able to overcome this difficulty.

I originally wanted to follow the University of Reading logo colour red as my background colour but was told from the peers feedback that it was not ‘aesthetically pleasing or easy on the eye’ for a movie leaflet so I choose a darker shade (maroon) as my background colour so that is can have a better contract with the white text.

I use a basic layout of the border around the edge with a white box at the bottom with a maroon colour text so the information would not blend in with the movie listing information and give it a bit of a hierarchy. The result made the text easier to read and stands out the most. Overall, it was effective.

When printing this work I found out I made a lot of little mistakes that I could not notice on the screen such as some spacing issues, line lengths and cutting someone’s name in half. I Should try to make sure to keep a consistent layout and make sure to pay close attention to the detail. Overall, I think I did really good work.

Information design is fun

While doing this task I learned that it can be hard to keep track of all the different types of data you might need to handle when doing information design. I thought that my stylings were sufficient but on closer inspection I missed highlighting a lot of information, such as what language the films is and whether the film has subtitles or not. I also now have a greater appreciation for how hard its can be to get all of your information on one page, as it took a lot of adjustments so that the text fit snugly within the margins of one page. Feedback indicated that my decoration clashed with some of the information for the films, so I increased the transparency so that the text contrasts more with the background decoration.

Reading Film Theatre

Every time I add my flyer as media it seems to add a link to the PDF version of it. But anyway here is the link below to click on if you want to have a look.

FLYER BRIEF

I chose to use only black and white, as I felt it differentiated it as a flyer rather than a poster (whilst keeping it simple). I used lines to separate each film and make it easier to read. I used a grid system within the 2 columns, to make the date, rating and time easier to follow and read rather than just a block of information.

I added in about us at the bottom as I believed that it is important to know who to contact and where to go.

A list for Reading Film Theatre

Task C – Cinema Listings

The feedback I was given was pretty positive but I made a few changes to the listing. I added a key for the symbols (cc) and (ad). This is something I chose not to do in my original design as I didn’t think it was necessary with the symbols being well known but after feedback I remembered the brief stating the listing must be suitable for international users. International users may have different symbols for subtitles and audio description so the key is important in this sense. Another criticism was that the text within the film descriptions often cut of mid word onto the next line so this is something I altered.

Bunny cinema listing

Here is my current final draft for the cinema project, my feedback suggested that I re arrange the halloween listing so that it flows down rather than across, and so that the ownership of the heading becomes less ambiguous. I edited my work by placing all the halloween showings on one column, and the regular showings on another.

I considered putting the halloween showings in a box but thought this might not look quite right, so i just moved them and edited the sizing and spacing a little to make it line up. I also changed the spacing between some paragraphs a little by moving the showing time onto the same line as the showing date, widening the space between the paragraphs and the headers.

Although I had a comment that the colour scheme might be visually confusing, I felt that it was what worked best and so kept it as it was. I did change some of the decorate elements as they did seem a little overwhelming, so I removed a few and changed others to give the illusion of more space.

Managing space – Flyer Design

Movie flyer, print-ready

By far one of my most favourite ‘mini’ project we had so far. Unlike other projects, this one was all about arranging and organising information, which is something I enjoy doing and hoping to do more in the foreseeable future. At the beginning of this task, I received a list of movies and information that needed to be embedded stylistically. Having first looked at the sheet it was quite clear that there was a lot of minor ‘flaws’ that made the text difficult to read and comprehend. Ranging from various time and date formats to misused hyphens.
Due to the limited time given to complete this task, I had to work under pressure; however, having seen existing movie flyers and work of other students, I had an idea of what I wanted my outcome to look like.
My aim for this project was to create something simple, clean and organised. This gave me an idea to embed the key information (according to my judgement) in small boxes, staring from time to the age rating and any other extra information. While designing the boxes, I also wanted to highlight the language and whether the movie had audio description/subtitles. The reasoning behind my decision was that I thought these features affect the movie directly.
In terms of the hierarchy, It was important to me to tailor it to the needs of most adults. As a lot of us live a busy life or work, it was important to me to make sure that the time, date and place are clear and obvious, as it would be pointless for someone to read all the information about the movie, if they can’t attend it.

Although the feedback I received was mostly positive, I introduced some changes in terms of space:

  1. added extra space between the vertical bars and the text, so that it is not mistaken for a letter
  2. changed the colour of the text, for further differentiation between the text and the vertical bars
  3. re-aligned the text boxes
  4. made sure that the names of the actors were not separated


En dash!

For this project we were set to design our own movie listings flyer, sized A5. The aim was to understand hierarchy or text and to appropriately apply this through spacing, colour and extrinsic features of type. It took me a while to get started with this because there were so many different paths I could take, for instance, I had to decide which pieces of information to prioritise over others.

I ended up putting the movie title as the most important by making it the largest text size (other than the main title) as well as making it bold. I differentiated between other pieces of text by using italics, different weights and sizes. In an attempt to stop the repetition of information I decided to make each column correspond to a different month, however due to lack of space on the second column I had to be a little more creative with my placement of November, making it vertical and sit on the side of the column. I’m still not to sure if this was the right thing to do because I’m slightly worried that it isn’t too clear that the second column belongs to November or not.

It was helpful to go through some critique with the class on some examples of work, this reminded me that I had been hyphenating wrong and had to go through and change everything to an en dash.


Modernist Style Cinema Listing

cinema listing

For this project we were tasked with arranging information about 2017 showings at the university cinema onto an A5 sheet with two columns. This was a really fun task and was good for developing my skills on indesign which at the moment are pretty limited. I tried to arrange the information in a way i thought made sense with the title of the films being the most eye catching however during peer assessment someone pointed out the rest of the information sort of merges into one.

For my flyer I wanted to incorporate some styles we have been studying in the history of graphic communications module. Last week Rob was talking about Swiss graphic design so I’ve tried to make my outcome visually similar to the movement. Swiss graphic design, like modernism, uses black and red colours and sanserif fonts.

Pre ‘Coroni’ 2017 listings

Reading Film brochure2Final

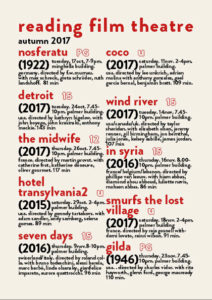
We were given film listings from 2017 and were given the task to present our own film brochures with this information. the list of information wasn’t written properly and contained several errors. for example a lot of them didn’t all include the run time. With this in mind I started sampling bits of information and re-writing it all to read in an order that could more coherent, allowing me to reorganise things more easily if need be. I was aware that there was a lot of information for a single listing which would be difficult to put into an a5 document whilst maintain legibility. I decided to then shorten the information taking liberties like shortening dates and only including start times of the movies. I noticed that for each listing it mentioned the month and year, something that I felt was too repetitive. I didn’t want my design to do this so i started sketching layouts, allowing me to distinguish the listings by month. I also wanted to distinguish that the movies were either adult or family friendly. I settled on the idea of having two columns, the left being adult movies and the right being family friendly movies. I then thought I could distinguish them into two halfs, the top being listings in October and the lower being ones in November. I knew I needed the listings to line up so I went back and adapted them to share the same amount of lines,  creating uniformity in my design

I then started experimenting with using the face Gill Sans Nova. I chose this for its variety in fonts and its reliability for short headings, as it was originally designed as a displace face. the Nova style also allows me to use much thinner weights for the main listings. Instead of incorporating lots of colour I decided to reserve it, only using it for the for information that might get lost in the structure of the document. I then had to rely on weight variation so I used a bold for the title, semi bold for the subtitle and medium for the rest of the listing. I wanted to make the listing into two halves again, the top being the most important information and the bottom being more contextual. I did this by significantly lowering the point size of the second half in the medium font, allowing it to still feel breathable. I thought that it needed more contrast for some key words such as ‘directed by’ and ‘staring’ so I lowered the point size and increased the font to a semi bold, giving it a subtle change in weight.


Analysis

I feel like the design went fairly well but struggled to add the contact information at the bottom. I had to decrease the size and up the font weight as well as slightly increasing tracking  to suggest a similar size. I still feel it looks too small and a clumsy effort to include it at the bottom. I also know that the RFT logo that I made to fit the design doesn’t solve my alignment issue. The last block should be where all the text is aligned on the right hand side yet it’s not as I felt that increasing the column margin to space it towards it would look disconnected. I also think that the use of colour for the icons worked well as they would have been overlooked if not used, yet I think its a shame the rest of the design is in black and white. Having said this I don’t think that using more colour would have made the distinction between itself and the black type any more effective, as more colour used decreases its impact as suggested by Tschichold
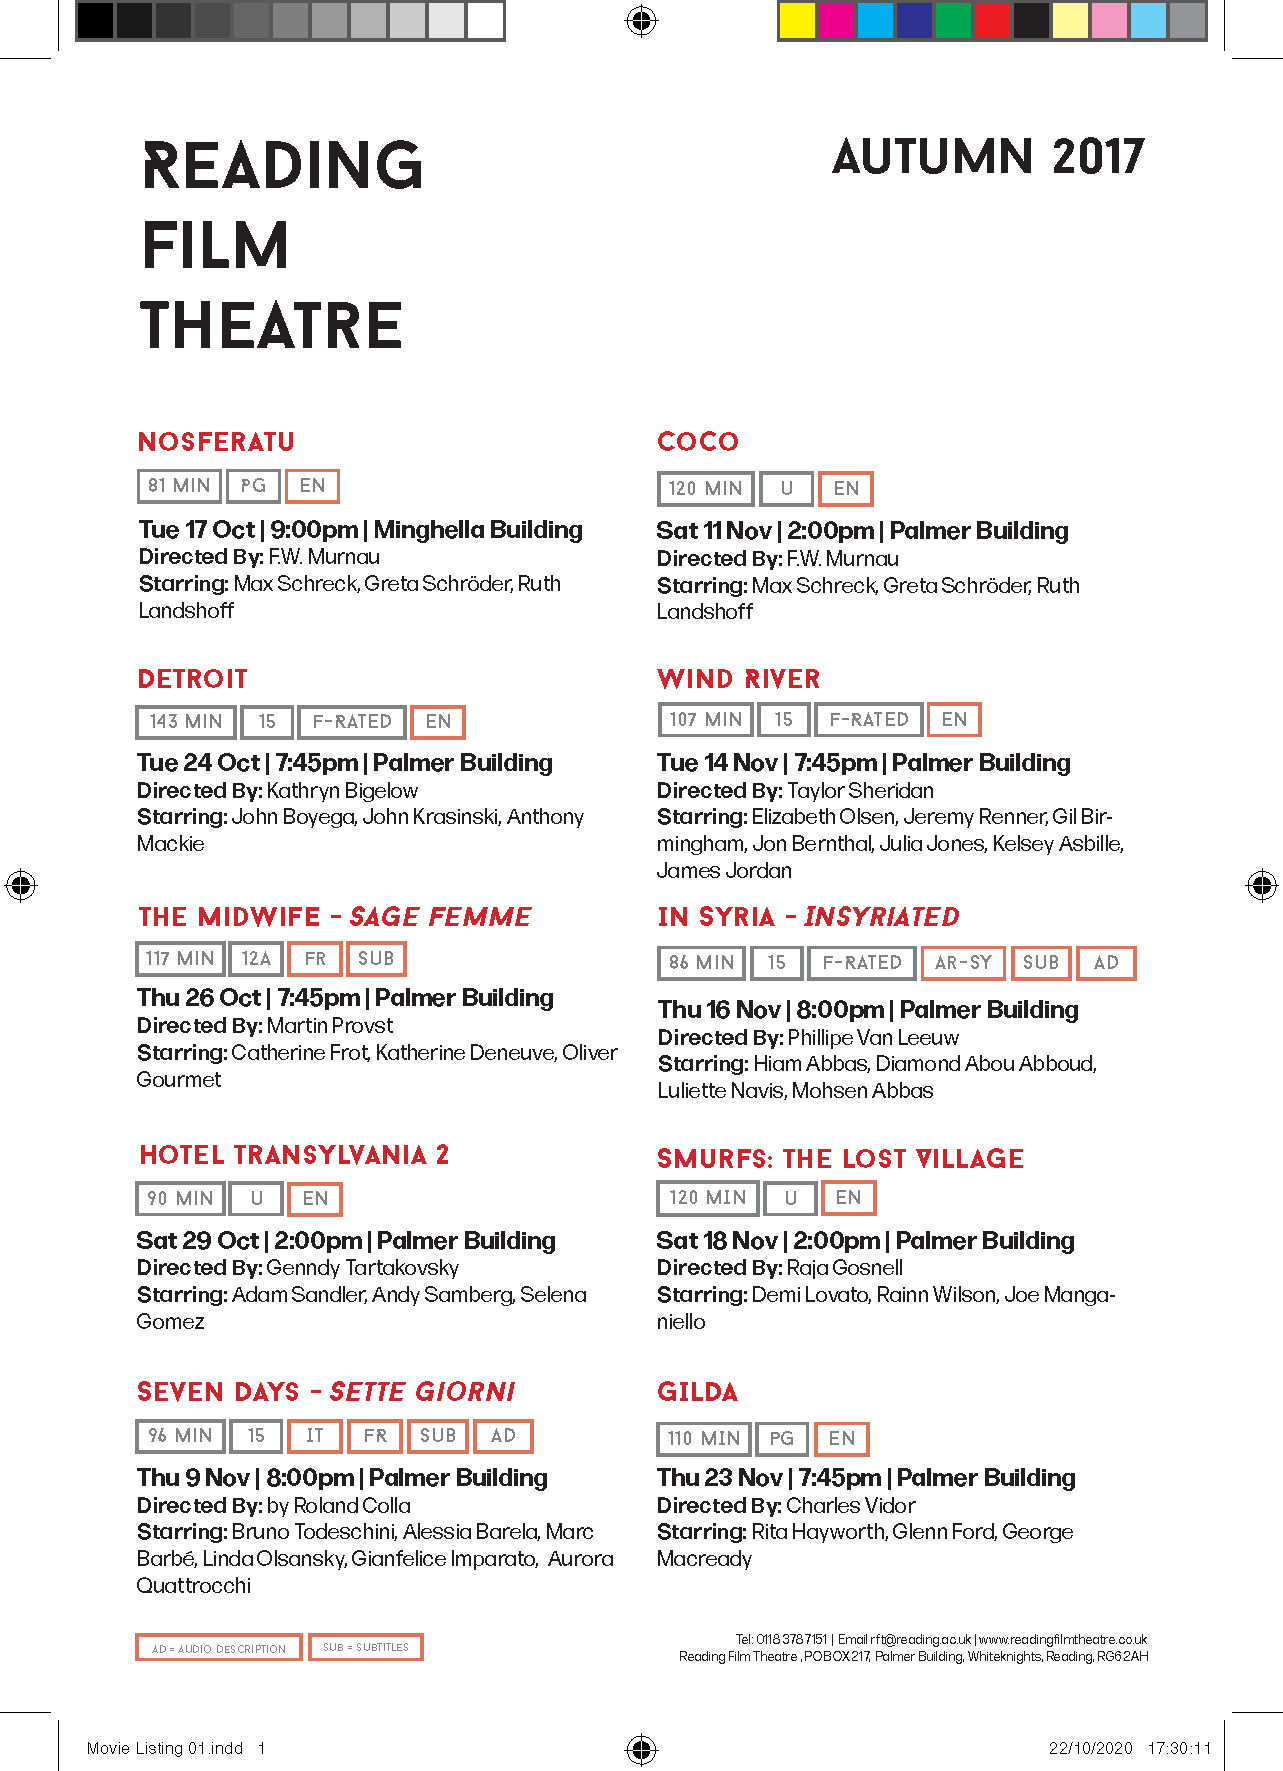
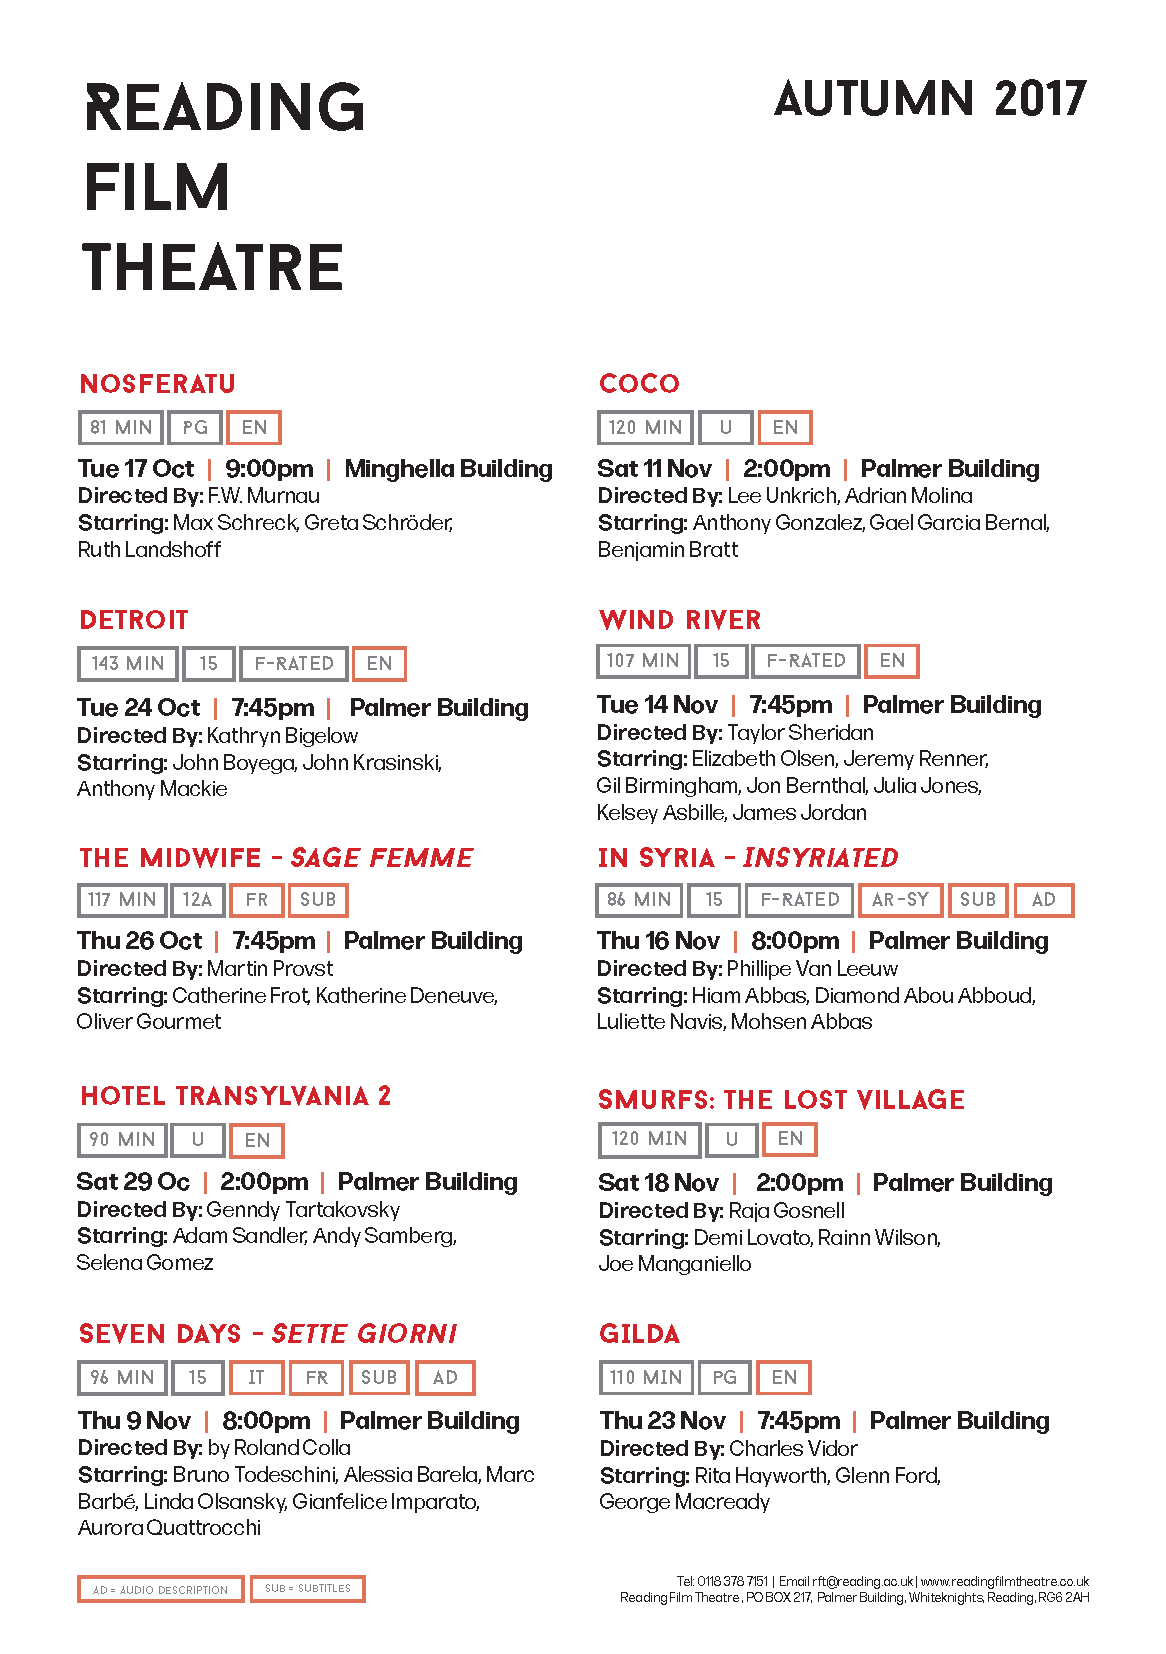