5 Days of signwriting
Joby Carter
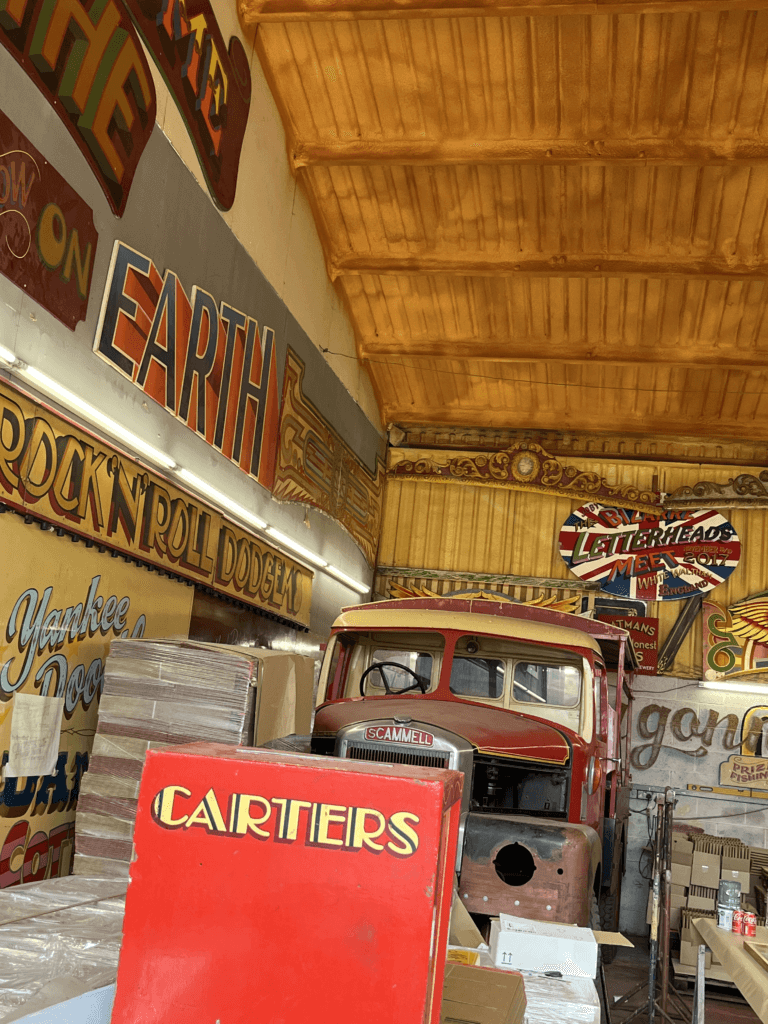
Joby is a signwriter and fairground artist who owns the famous ‘Carter’s Steam Fair’ fairground, which is the largest vintage travelling funfair in the world. Years of experience has led to Joby being one of the world’s leading experts on signwriting, fancy lettering and fairground art. I met Joby during a trip to his workshop for a project and was fascinated by his work, having never been exposed to the world of signwriting before. The precision and artistic skills that Joby possessed to have the ability to create such intricate lettering was amazing to me.
The course
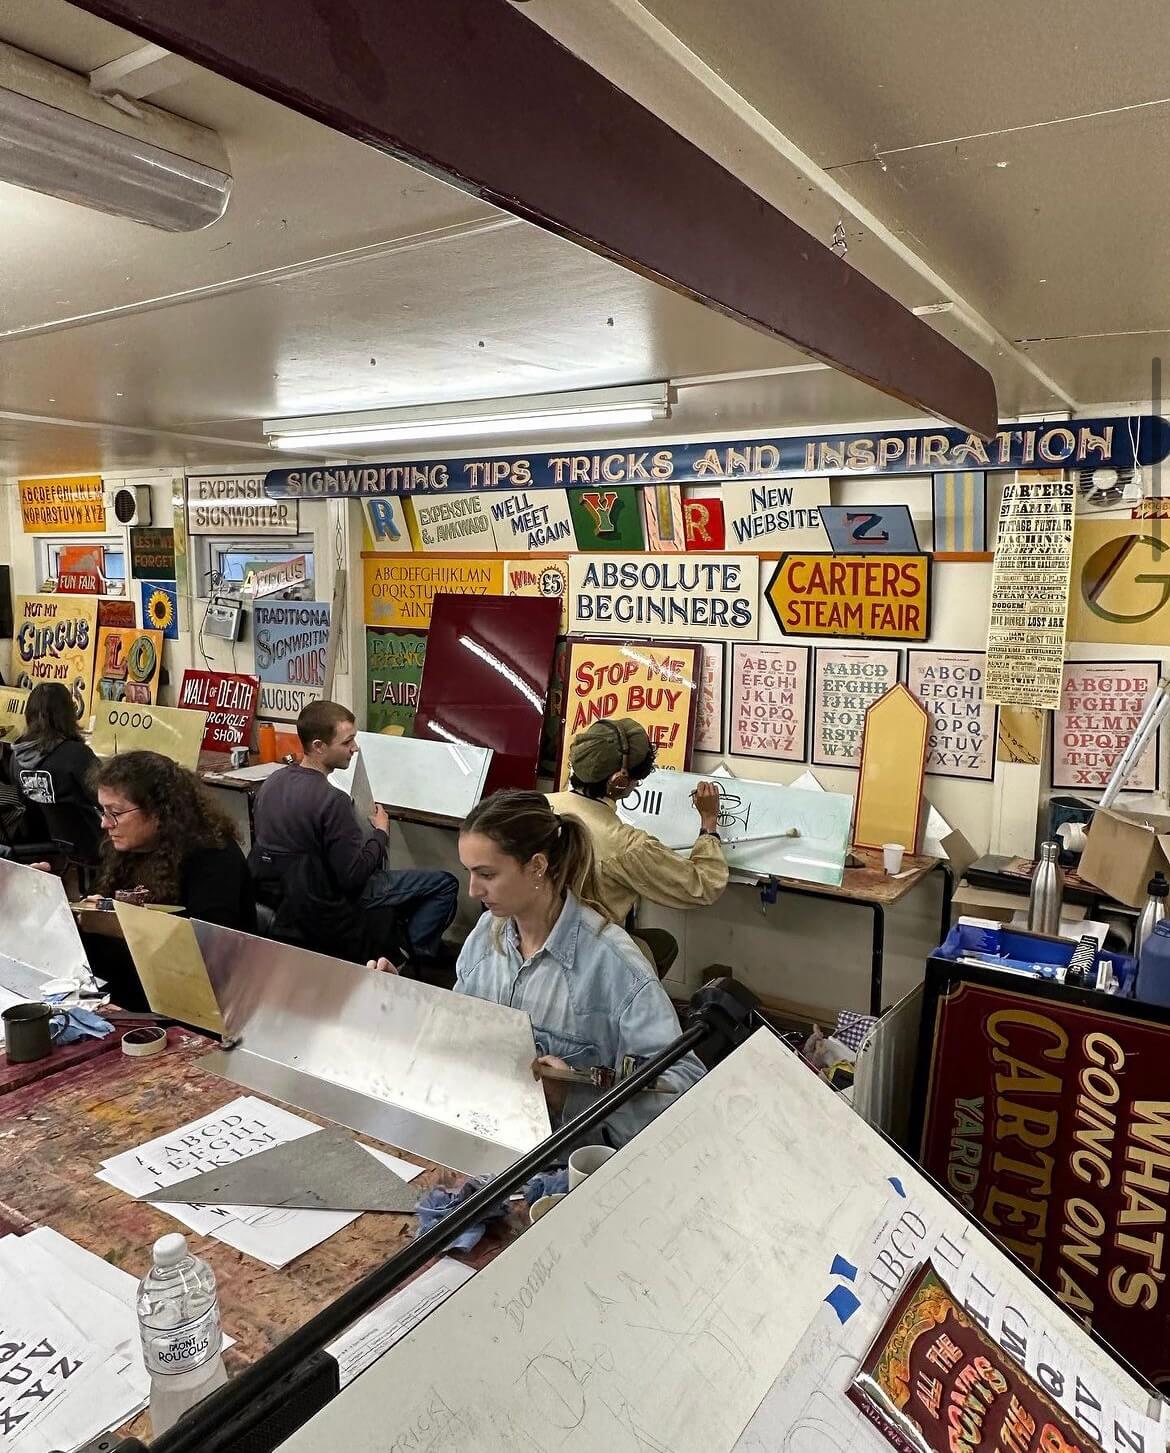
I was lucky enough to receive the opportunity to take part in Joby’s 5 day intensive signwriting course this autumn. This was as a result of coming second place in his contest last year with my fairground-inspired logo redesign for Odeon. The Department offered me a place on his course as a prize using the Typography Student Fund. The course ran from 9am–5pm on Monday through to Friday, giving me 40 hours of teaching and learning with Joby.
Day 1
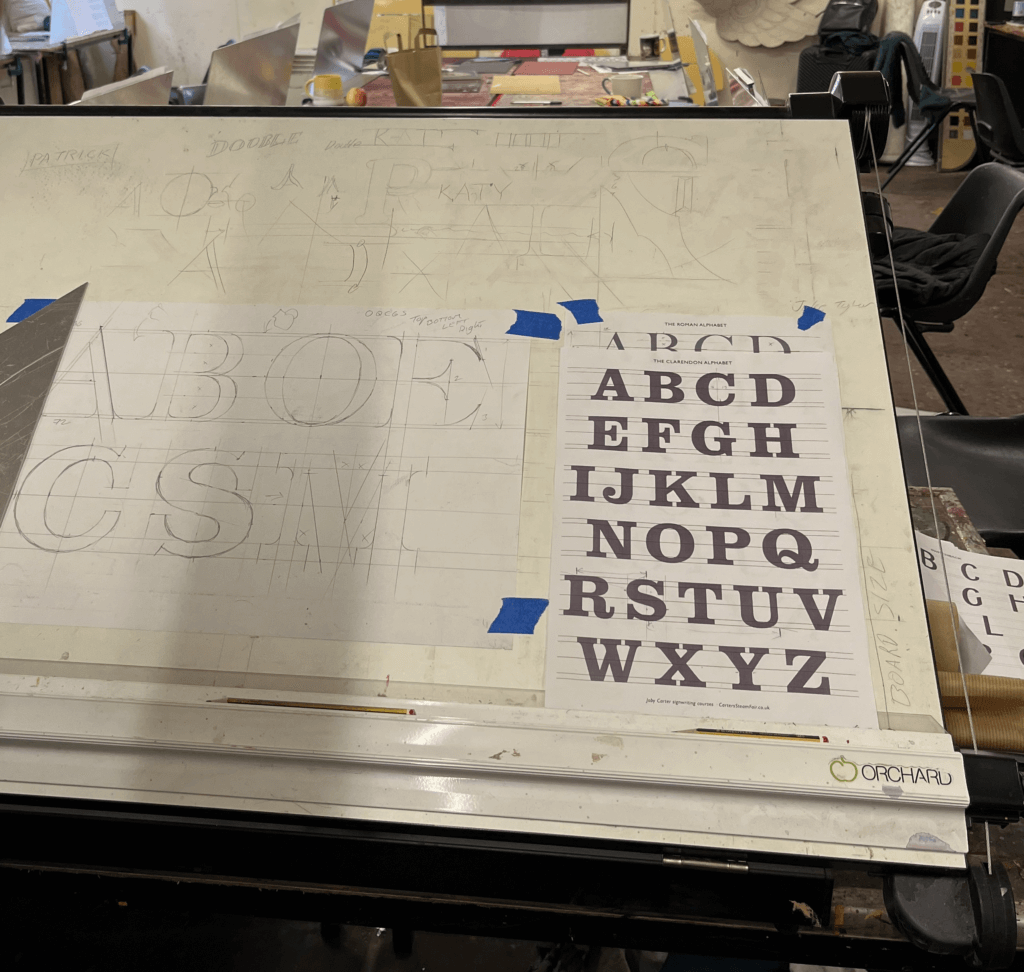
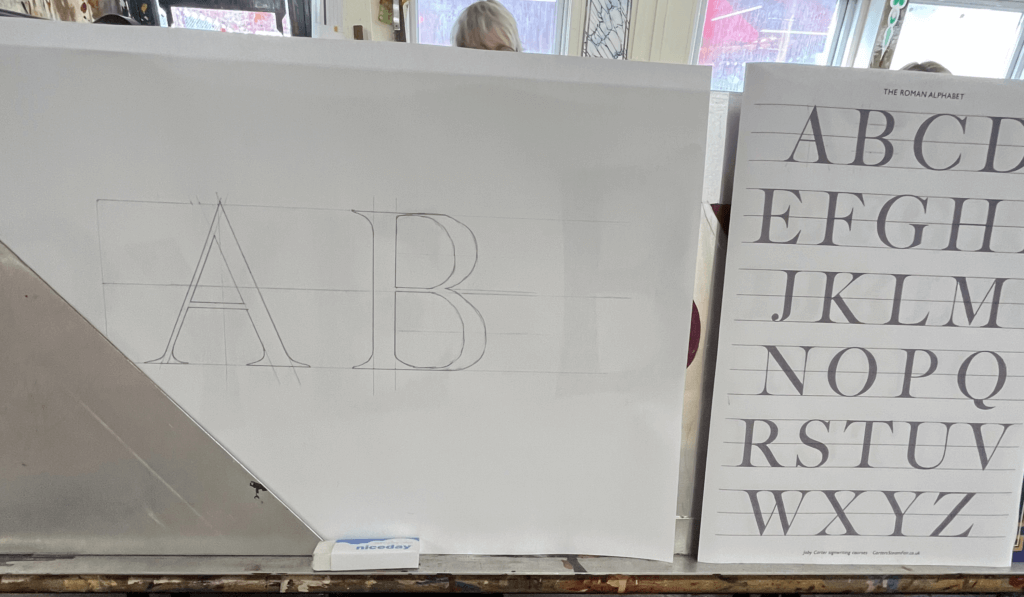
On the first day, we were introduced to the anatomy of roman lettering and the reasoning behind the thin and thick strokes, which mimic the way the brush strokes when painting the letters. We practised precisely drawing letters, copying them from Joby’s examples but accurately measuring each length and angle and scaling them to a bigger size that would be easier to draw at. Having had lots of previous experience in typography from the Department at University, I enjoyed how well I understood the different structures of the letters. We looked at some different typefaces that signwriters commonly use, and again practised drawing these accurately. There was no painting involved on this day as it was all about nailing the shapes of the letters.
Day 2
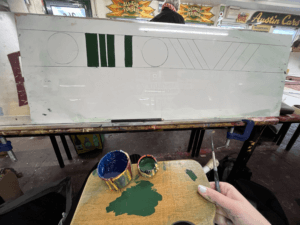
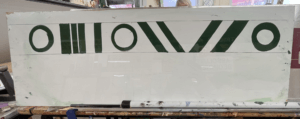
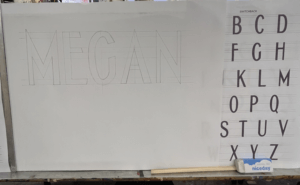
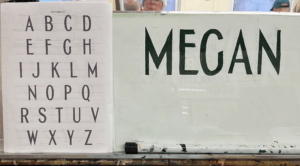
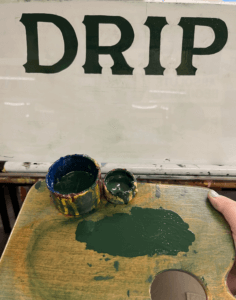
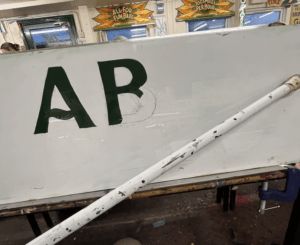
On day 2 we got the paint brushes out. Joby showed us how to prep the brushes and the paint, and the proper way to look after your brushes. We each received a brush, a palette, some dipping pots and a mahl stick. We were shown the specific way to hold the palette in your left hand in addition to the mahl stick, which is used to stabilise your right hand while holding the paint brush. This ensures smooth, straight brush strokes and acts against shaky hands. To begin with, we practised painting rectangles in order to learn to control the brush. Once gaining some confidence, we tried rectangles at a 45 degree angle, and then moved on to circles. Joby showed us the technique of twisting the brush at the start and end of the stroke to get a sharp edge, which seemed difficult at first, but practicing over and over again helped to improve technique. Methods like these are included in Joby’s book ‘Signwriting tips, tricks and inspiration’ which I found really useful to follow. Joby got us to use white spirit to wipe the paint off after each try so that we could reuse the boards over and over again. I then practised drawing out some different fonts, and wrote my name in the Switchback style, which I then transferred onto my board by rubbing charcoal on the back and then drawing over the letters again against the di-bond in order to create a trace of my sketch with the charcoal. I used the same green paint we had been practising with to paint within the lines of the letters as we were asked to use this paint up until the final day when we started our own signs due to the fact that it had a long drying time so that it could be more easily wiped off the practice boards.
Day 3
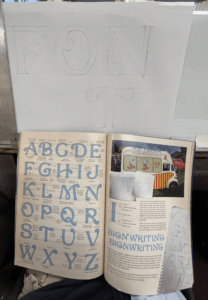
The third day was similar to day 2, and started out consisting of a combination of painting shapes again and sketching out letters. Joby really wanted us to nail letter structure and brush stroke technique before we got stuck into painting letters. One particular style of lettering caught my eye from a sign of Joby’s in the room we were working – it had beautiful curved letters and flourishes. I asked Joby where I could find this font and he revealed that it was a new one he had designed in his new book ‘All the fonts of the fair‘ called Curveside Nouveau. I borrowed a copy of his book so that I was able to analyse and copy the lettering, scaling it up to a bigger size. I once again transferred my drawings on to the di-bond and carefully painted letters to make the word ‘Font’. This combination of letters allowed me to practise drawing different angled letters with variations of flourishes on each one. I painted some other fonts from Joby’s book and found it interesting how many factors influence the appearance of a font and create a different route for your paint brush.

Day 4
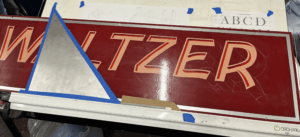
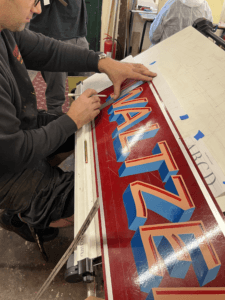
Today, Joby taught us how to create a block to make a letter appear three-dimensional. This technique is often used by traditional signwriters to emphasise letters. Joby’s method allowed us to get the block drawn on accurately without fail. All that was needed was a piece of cardboard cut into the desired width of the block shape, and then with a 45 degree angle cut from corner to corner on one end to the other. This angle is then used to draw a straight line from each point of the face of the letter to create the effect that it has been extended outwards. The block is usually set to the left of the letter as this is often easier than having to block the curves that are often on the right side of the letter, but it comes down to a matter of preference. Joby demonstrated this to us by adding a block on the right hand side to his Waltzer sign. The E and the R are more complicated to do this way, rather than simply having to block their straight edges if it were to the left. This was a compositional choice that Joby decided on, due to the word Waltzer having more empty space on the right edge of the board.
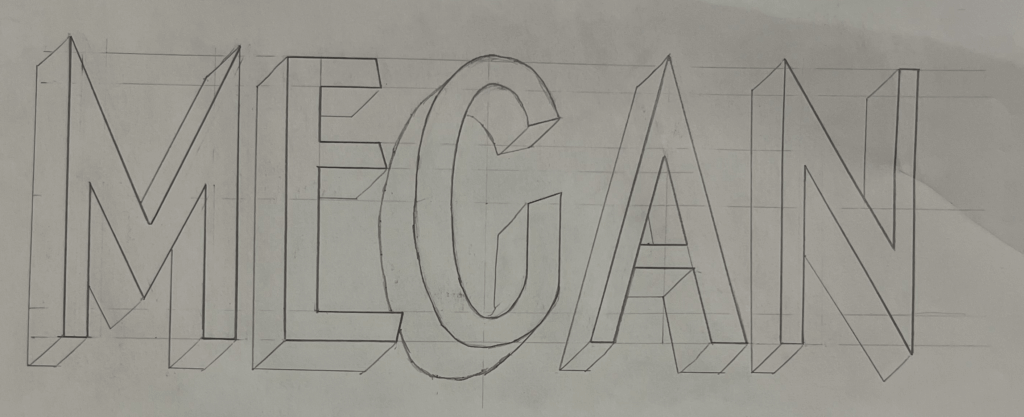
I practised this method by adding blocks to all my previous letter sketches, it was interesting to see how the style of letter affected the shape of the block and influenced the overall appearance of the word.
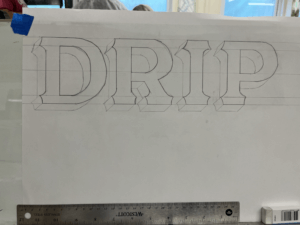
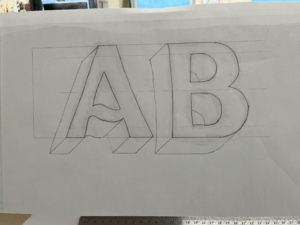

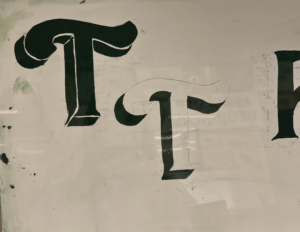
I then practised painting the blocks after sketching them. Joby also showed us the effect of a stepped away block, which I did on the left T. This creates an extra outline around the letter face, which is easy to do, but creates the illusion of an extra effect.
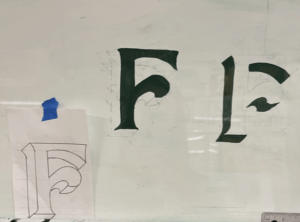
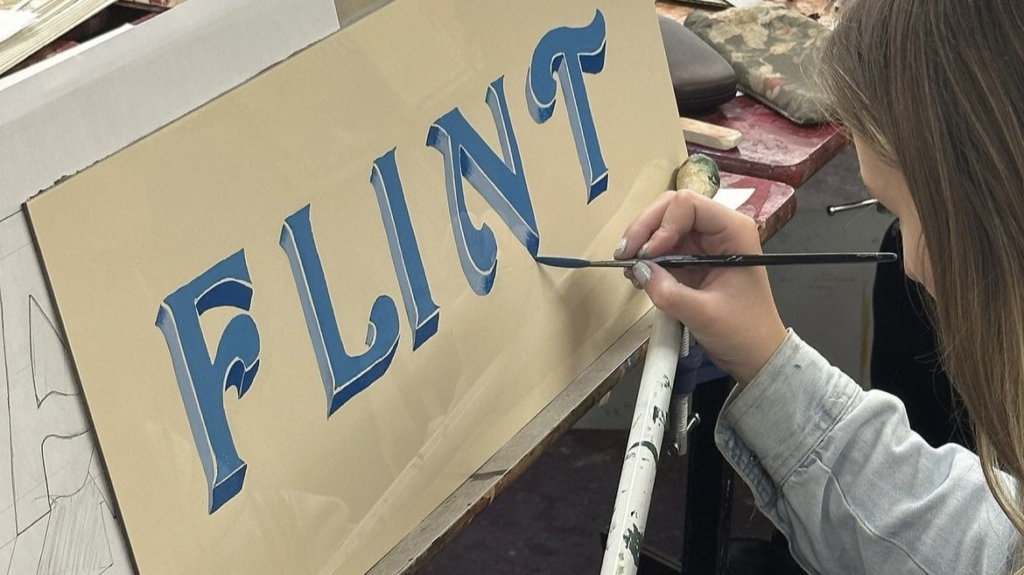
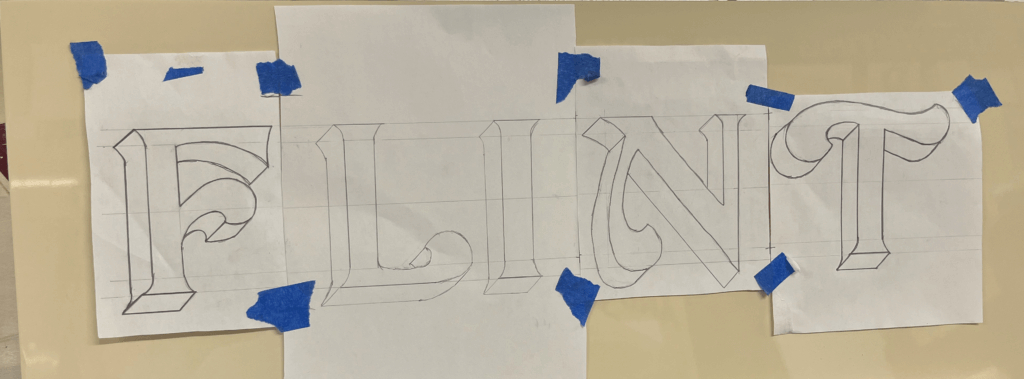
In the afternoon, I began to plan the final design for my sign. I had fallen in love with Joby’s Curveside Nouveau due to the beautiful brush strokes and shapes it created when painted. I found it to be a very fun yet elegant typeface, and I enjoyed painting the subtle curves more than painting rigid letterforms. I originally wanted to paint the name of my village, which is a nine letter word. But for the size of di-bond we were given at 62x25cm, this would be too challenging to fit in. I attempted to condense the font, but due to the thickness of the strokes it was still impossible to be able to paint it at a big enough size. I decided instead to paint my house name, as it was only 5 letters and I would be able to spend more time perfecting and adding blocks and shading. To save time, I used some of the letters that I had already sketched out, drew the additional ones I needed and then cut and taped them together, adjusting the negative space between each letter to create a balanced layout. Here is where a lot of what I learnt about typography at University helped me with my layout choices. Having an L and an I next to one another means that there is a lot of negative space between the letters, so moving these closer together creates the overall illusion that the letters are evenly spaced.
Day 5
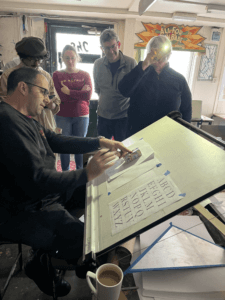
On Friday morning, Joby showed us how to add a shadow to a letter. This helps to bring a letter to life and make it stand out from the background. This was more complicated than adding a block and took time to understand Joby’s demonstration. But I had a go at adding a shadow to some of my previous sketches.
I then started to paint my sign, picking out some shades of blue, that wouldn’t take too long to dry so that I could add layers of block and shading. I started with the face of the letter, then added a stepped back block in a lighter shade of blue for the vertical sections of the block. Once this was dry I used a darker French blue for the horizontal blocks which would be more in shadow. I also added some shading using this blue, to fade some lighter sections into darker parts. Finally, I added some decorative curls within the flourishes of each letter. I then decided to add in the word ‘Cottage’ in a small script copied from Joby’s book, underneath the main word. I painted this in the darkest blue which I used for the flourish curls, to tie everything in together. The script font was difficult to paint as the strokes were so thin, I used a smaller brush to help achieve more accuracy.
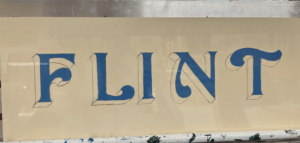
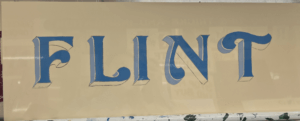
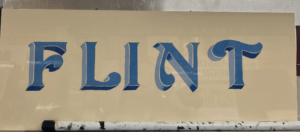
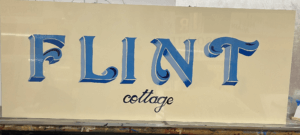
If I had had more time, I would have liked to try adding a shadow. However, Joby told me that it was more difficult for signwriters to add a shadow in addition to a block that is stepped back, so this would have been challenging for me. In future I would like to experiment with more bold colour combinations, although I liked the elegance of my blue sign.
Reflection
I thoroughly enjoyed Joby’s course from start to finish and feel as though I learnt a great deal about the world of signwriting and the extensive process involved. Having background knowledge on typography from studying Graphic Communication was a huge help in my understanding of letter anatomy and dealing with spacing. But the process of hand drawing and painting letters has taken my typographic understanding to a whole new level. The act of using a brush to create the curves and the thin and thick strokes of a letter reveals why letters are shaped the way they are, and how they have evolved from the Roman alphabet.
I wish to continue practicing signwriting and the potentially utilise it in a future career. It has become a dying craft since the emergence of graphic design but is a highly skilled and fascinating trade that should be continued and passed down to future generations in order for it to be kept alive. I am so grateful to have been taught by Joby Carter, a highly respected and experienced signwriter who’s passion for the art of hand-painting letters is clear to see. I also want to thank the University and the Typography Student Fund for allowing me to have had this wonderful opportunity that I will forever cherish.
