This term, I undertook a range of design tasks for the TY1SK module with the aim of improving and building a better understanding of skills and techniques with Adobe software. In this blog post, I will discuss the ‘Drawing Vector Objects’ task, where I designed a social media banner for the book ‘Homegoing’ by Yaa Gyasi. I took screenshots throughout my design process to aid my explainations.
This task was based in Adobe Illustrator. Last term, I had never used Illustrator before and so focused on basic skills. Over the winter break, I practiced more with this software and picked up some important shortcuts using the keypad and I became much more confident with Illustrator. This allowed me to be more efficient while designing the social media banner for this task.
My Design Ideas and Process
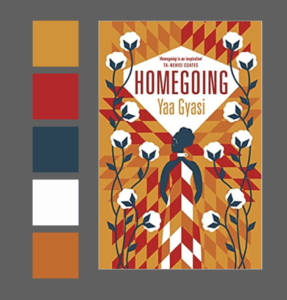
Before I began designing, I created a colour palette based on colours featured in the example book covers that I found as inspiration (more on this later), as well as from the Ghana flag. To select these colours, I used the eye-dropper tool in Illustrator and made a selection of swatches to be used for my designs.
Final Outcome 1
Below is my first banner design. Overall, I think this was also the most successful outcome.
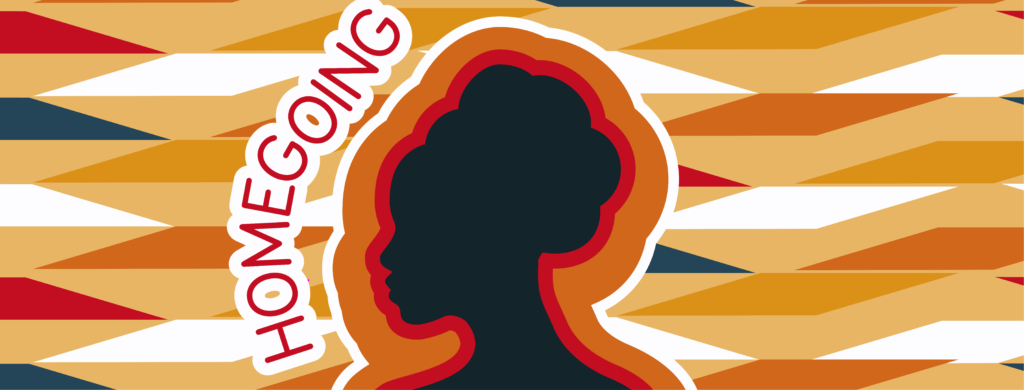
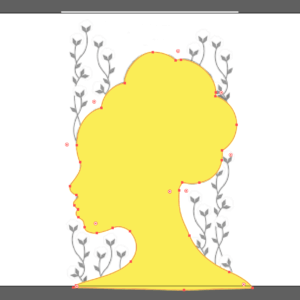
To create this design, I began by using a combination of the pen tool and the circle shape tool, to outline the shape of the silhouetted woman. I then used the shape builder tool to merge these shapes into one element.
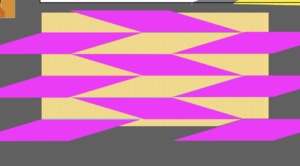
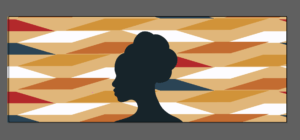
I then wanted to incorporate a traditional Ghanaian pattern. I utilised the rectangle tool and used the white arrow tool to manipulate them to make them rhombus-like shapes. I used the pattern builder to create a repeating pattern of this design.
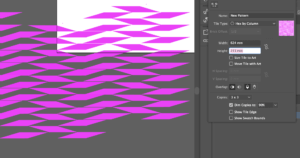
I then added colour into my pattern, using the colour palette I had previously created.
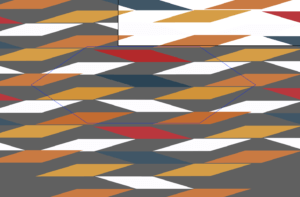
Next, I layered my silhouette on top of my repeating pattern, as well as an orange background colour. To make these layers fit perfectly to my artboard, I created a clipping mask. I then used the offset path tool to add multiple coloured areas around the edge of the silhouette, creating border-like outlines. This idea was inspired by flames and fire.

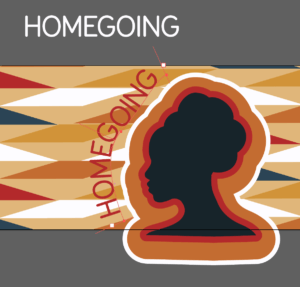
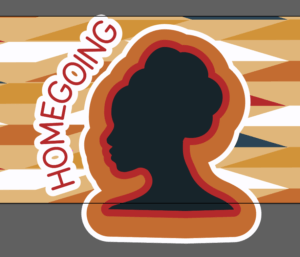
Finally, I added the title ‘Homegoing’ in all caps text using the typeface Menco, a san-serif, which is similar to the type used on the book covers. I added this type to a path, which matched the edge of the silhouette. I also offset this, so it stood out better from the background pattern.
Final Outcome 2
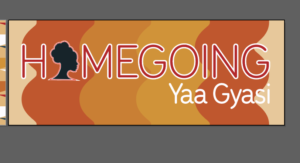
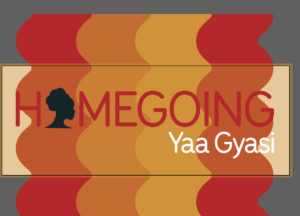
Below is my second banner design. For this design, I used the same colour palette as previously mentioned.
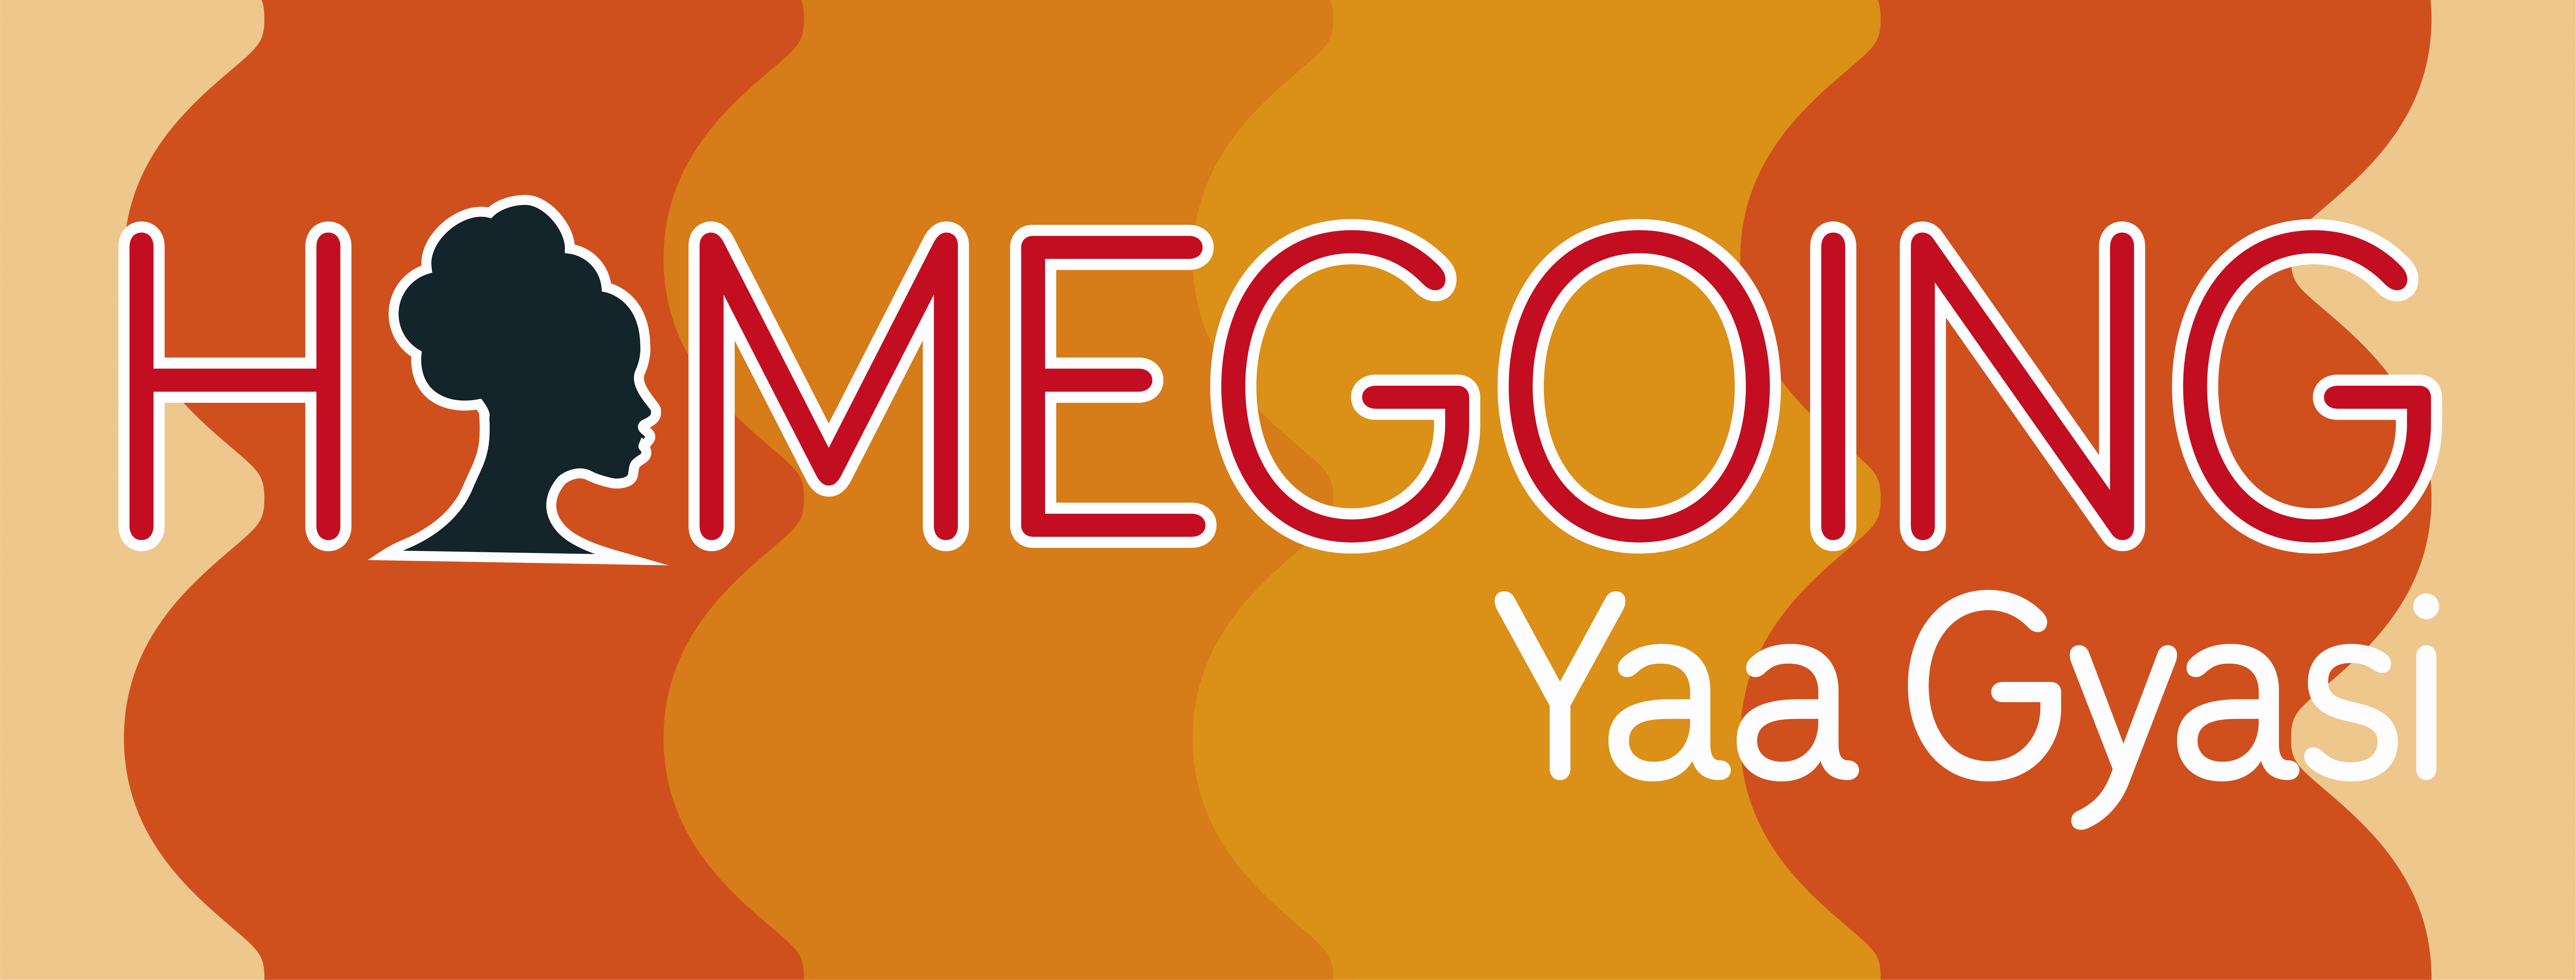
For this design, I wanted the title of the book to be the most prominent element. I used the Menco typeface in both all caps and normal for the text to create typographic hierarchy. I wanted to try a different approach to incorporate the idea of flames and fire. I made a straight line stroke using the pen tool, before outlining the stroke and using the ‘distort & transform’ ‘zig-zag’ effect, to give a smooth wave affect inspired by the flames.
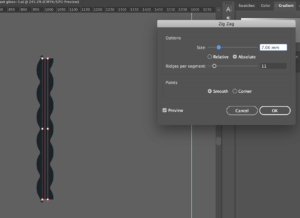
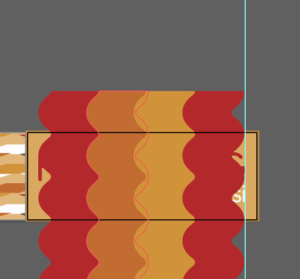
Next, I added the text on top of this pattern. To incorporate the silhouetted shape, I removed the ‘O’ of the ‘Homegoing’ and replaced it with the figure. I also made the outline stroke of the text and the figure white to make it stand out more from the background. To help make sure each element of the type was aligned, I used the ruler tool. I also used the clipping mask tool once again, to neaten my art-board.
Final Outcome 3
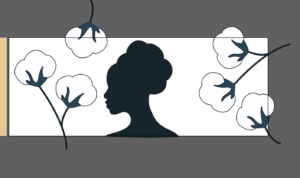
For this final design, I wanted to find a way to incorporate the cotton plant element that featured on several book covers that I had found during my research.

To illustrate these cotton plants, I drew circles and used the shape-builder tool to combine these shapes into one element. I also used the pen tool to create the stems of these plants. I used the same silhouette shape for this design too.
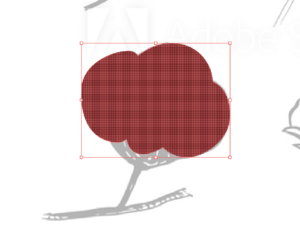
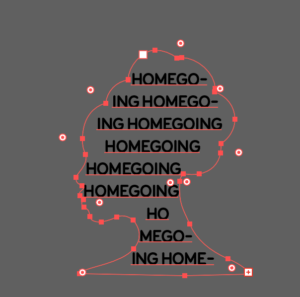
I wanted to play around with another way to add the title of the book and so I used the ‘text in shape’ tool to fill the silhouette with ‘Homegoing’.
Finally, as another way to add the idea of flames and fire, I played with the gradient tool to create the blur between orange and red to act as the background. To finish my design, I offset the silhouetted shape once more.

Software tutorials
Before I began my design process, I watched several video tutorial to help me use Adobe Illustrator and the tools and effects available in this software.
Firstly, I looked on the Adobe website and found the videos: ‘Create with drawing tools’, ‘Create and edit shapes’ and ‘Start making artwork’ all extremely useful. These videos helped strengthen my knowledge of the basic tools and techniques within Illustrator, before I could then explore some of the more complex and detailed skills.
I next searched on Youtube to find some further tutorials and demonstrations.The video: ‘How to use Shadow and Highlights in Adobe Illustrator CC 2018 , Fast Hot dog vector tutorial’ by Niko Dola was really fun to watch, as he showed how to create a hotdog using the different effects available on Illustrator, such as the warping tools and the distorting tools. I decided that I definitely wanted to play around with these effects when I created my designs.
The tutorial ‘Adobe Illustrator Tutorial: Create a Vector Pizza from Sketch’ by Dom Designs was also really useful, as it explains the process of turning a pencil sketch into a vector illustration. Finally the video: ‘Using Adobe Illustrator: 10 Tips for Beginners’ by Alice Thorpe, was valuable, as it outlined the basic tools and techniques I will need as a basis to develop my Illustrator skills further.
Youtube Tutorial Links:
Resources for research and inspiration
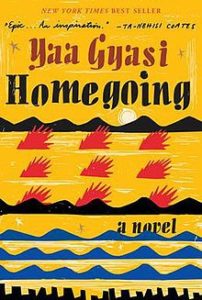
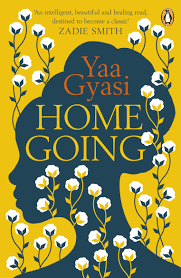
Before I started designing, I undertook some research into the book ‘Homegoing’. I read summaries, blog posts, reviews and watched introductory videos. These all gave me a better insight into the novel and its plot, which I thought was vital, as I wanted my designs to accurately capture and represent ‘Homegoing’. I also had a look at the different cover images used for this book. I noticed that all of the book cover variations that I saw featured bright orange, red and yellow colours. A lot of them also incorporated the silhouetted figure of a woman.
After reading reviews and descriptions of this novel, I discovered that fire appears throughout story as a symbol of the curse that haunts the family for generations. Finally, I found that this story is set in Ghana and features a cotton-picking plantation. Doing further research into the country Ghana (Republic of Ghana), I found that the flag features the colours red, yellow and green. At the centre of this flag is a black star. I also did some research into traditional patterns found in Ghana. I decided I wanted to incorporate these ideas into my final designs in some way or another. Taking this all on board, I decided that the main elements I wanted to incorporate were the silhouetted woman, the idea of fire and traditional patterns from Ghana .
Below are a few covers that stood out to me during my research.
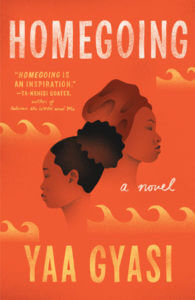
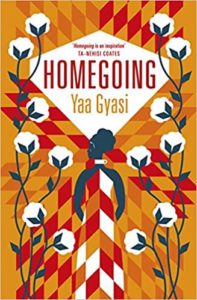
Below is the Link to the Youtube video that I found extremely valuable when conducting my research into the book ‘Homegoing’:
Evaluation
Overall, I really enjoyed this task. I feel that I was able to gain a better understand of the tools and techniques available in Adobe Illustrator and as a result, I feel much more confident using this software. I was able to explore different tools, techniques and effects, and I am really pleased with my final results. My favourite design was my first outcome with the pattern background and the offset colours around the silhouette. I think this might be due to the addition of contrast between the brighter off-white shade and darker navy-grey shade. On top of this, I think the repeating pattern element makes this design eye-catching and will allow it to standout when used as a social media banner.
Currently, Illustrator is my favourite software, but I definitely have room to grow and gain more knowledge and skills using it. I hope I become even more confident with design tasks to come.

