To kick off this year’s Baseline Shift sessions, we welcomed highly acclaimed book cover designer Micaela Alcaino.
A little on Micaela
Micaela started her journey at Penguin Random House and HarperCollins UK, before making the big shift in 2019 to freelance work. Alongside balancing up to thirty design projects at once, Micaela still makes time for archery, the gym, and spending time with her family and dog. It is no surprise that we received the comment “I want to be her” from one of our part two students.

Research
One of the key stages of her design process that Micaela focussed on, was the research stage. Our speaker goes above and beyond to ensure that she has immersed herself in the culture, traditions and artistic style that relates to the content of the book that she is designing for. When Micaela cannot visit a place or get access to tactile objects that relate to the book, she finds much of her inspiration through scouring Pinterest. It is important to note here that, instead of looking at other book covers for ideas, Micaela advocates for “seeking inspiration outside of your design sphere”.
Blank canvas
Starting with a blank canvas containing only the key information that will be included on the cover before tackling any of the actual ‘design’ elements, is something that many will have taken away from this talk. It was great to see Micaela posing the same questions here that are often asked on our course – “What is my hierarchy? What fonts work well for the genre? What are the important visual elements in the book?”.

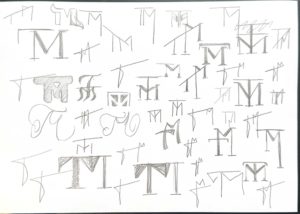
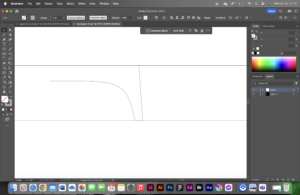
Sketches
A lesson that Micaela has learnt herself and has now passed onto us is not to take first round sketches to the point of completion as it will become impossible to stay on track with your time management. The helpful restriction Micaela places on herself is to “treat the first-round sketches like a colouring book”. This way, the placement of colour can still be considered but does not need to be achieved at the early stages of design.

Revisions
Something that many of us resonated with in the talk is the emphasis on the first draft not being the final piece. We were shown a case study of Micaela’s cover design for ‘Ariadne’ which went through several stages of revision. Each iteration had the smallest of changes, and out of the seven revisions we were shown in the presentation, we were told that this was just a fraction! It’s great to see that iteration in the design process is not something only contained within education but is something that follows us into the real world of design.

The book as a 3D object
Something to remember when working with any project that involves a three-dimensional product, is to consider each visible face. Micaela highlighted the importance of spine design, describing it as “essential” to a successful cover. Some helpful advice was to consider how the user will interact with the product, for example most novels will end up at one point with their spine facing out on a bookshelf – hence why spine design is so crucial.

Real world advice
One of the highlights of the talk was the section on business, contracts, and networking. Micaela made it clear that whichever path of design you choose to follow, you must “READ YOUR CONTRACTS”. We were shown examples of ways in which employers can take advantage of designers if we do not take responsibility and look after our rights both as designers and individuals. Students wrote that “this is the kind of thing that you normally only find out when it’s too late” and “I never even considered that before this talk”. This is the reason that Baseline Shift exists – to allow students a look into what design is like in the real world and to cover topics and subjects that are beyond the scope of the syllabus. We are truly grateful to Micaela for giving this insightful talk and look forward to the next Baseline Shift session!

Our key takeaways!
- To track your favourite typefaces, you can create a spreadsheet categorising what each of your favourites is appropriate for. This also stops you overusing particular fonts.
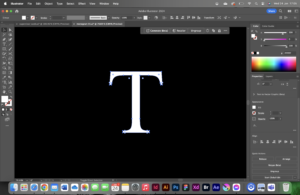
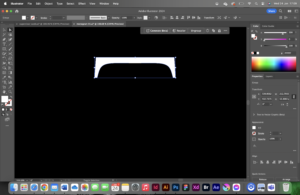
- If you work in print design, in Photoshop colour picker you can use cmd + shift+ y to grey out the colours that don’t print in CMYK.
- Be online and be consistent across all platforms, maximising the use of the platform that is most relevant to your career.
- Read your contracts and know your rights!
- Especially important if you are freelance – Track your projects, and your expenses.
- Apps like Speechify can help to streamline the process by reading out manuscripts / text files in the background while you work.
Useful links
Business
Wise – Digital bank that allows for accounts in multiple currencies – helpful for business across different countries.
FreeAgent – Tracks all your invoices and expenses (connects with Wise) – helpful for having multiple projects on at one time.
Cultural awareness
Creative review – Great place to learn what’s happening in the creative industry
Its Nice that – Great place to learn what’s happening in the creative industry
The Bookseller – All the latest news in Publishing UK
Creative Market – Great place to find cool new fonts, templates, graphics and more
Society of Young Publishers – Great place to learn from industry professionals and connect
Design Publishing Inclusivity – mentorship programme for under-represented creatives
– Written by Tommy Molnar
– Photography by Oscar Dudley