Design Ideas and Design Processes
The brief for this task was to experiment on Photoshop, cutting out images from their original background. There were multiple ways to do this and I wanted to practice with a few of them to grow my skills and gain confidence.
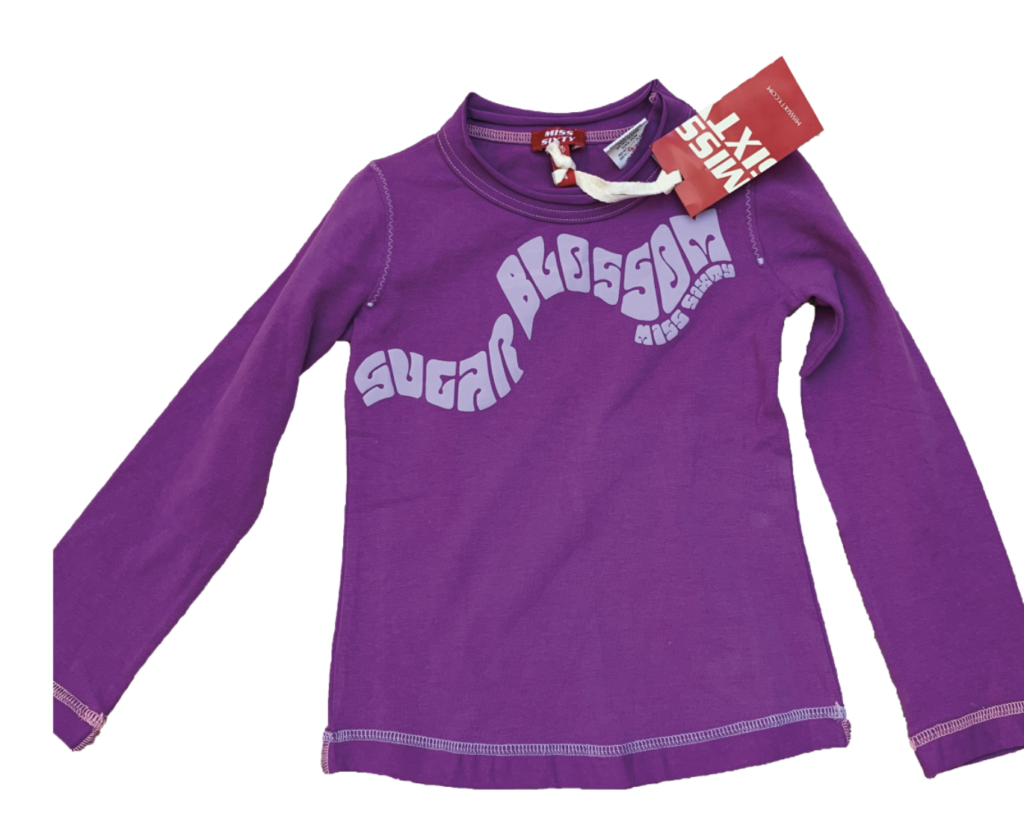
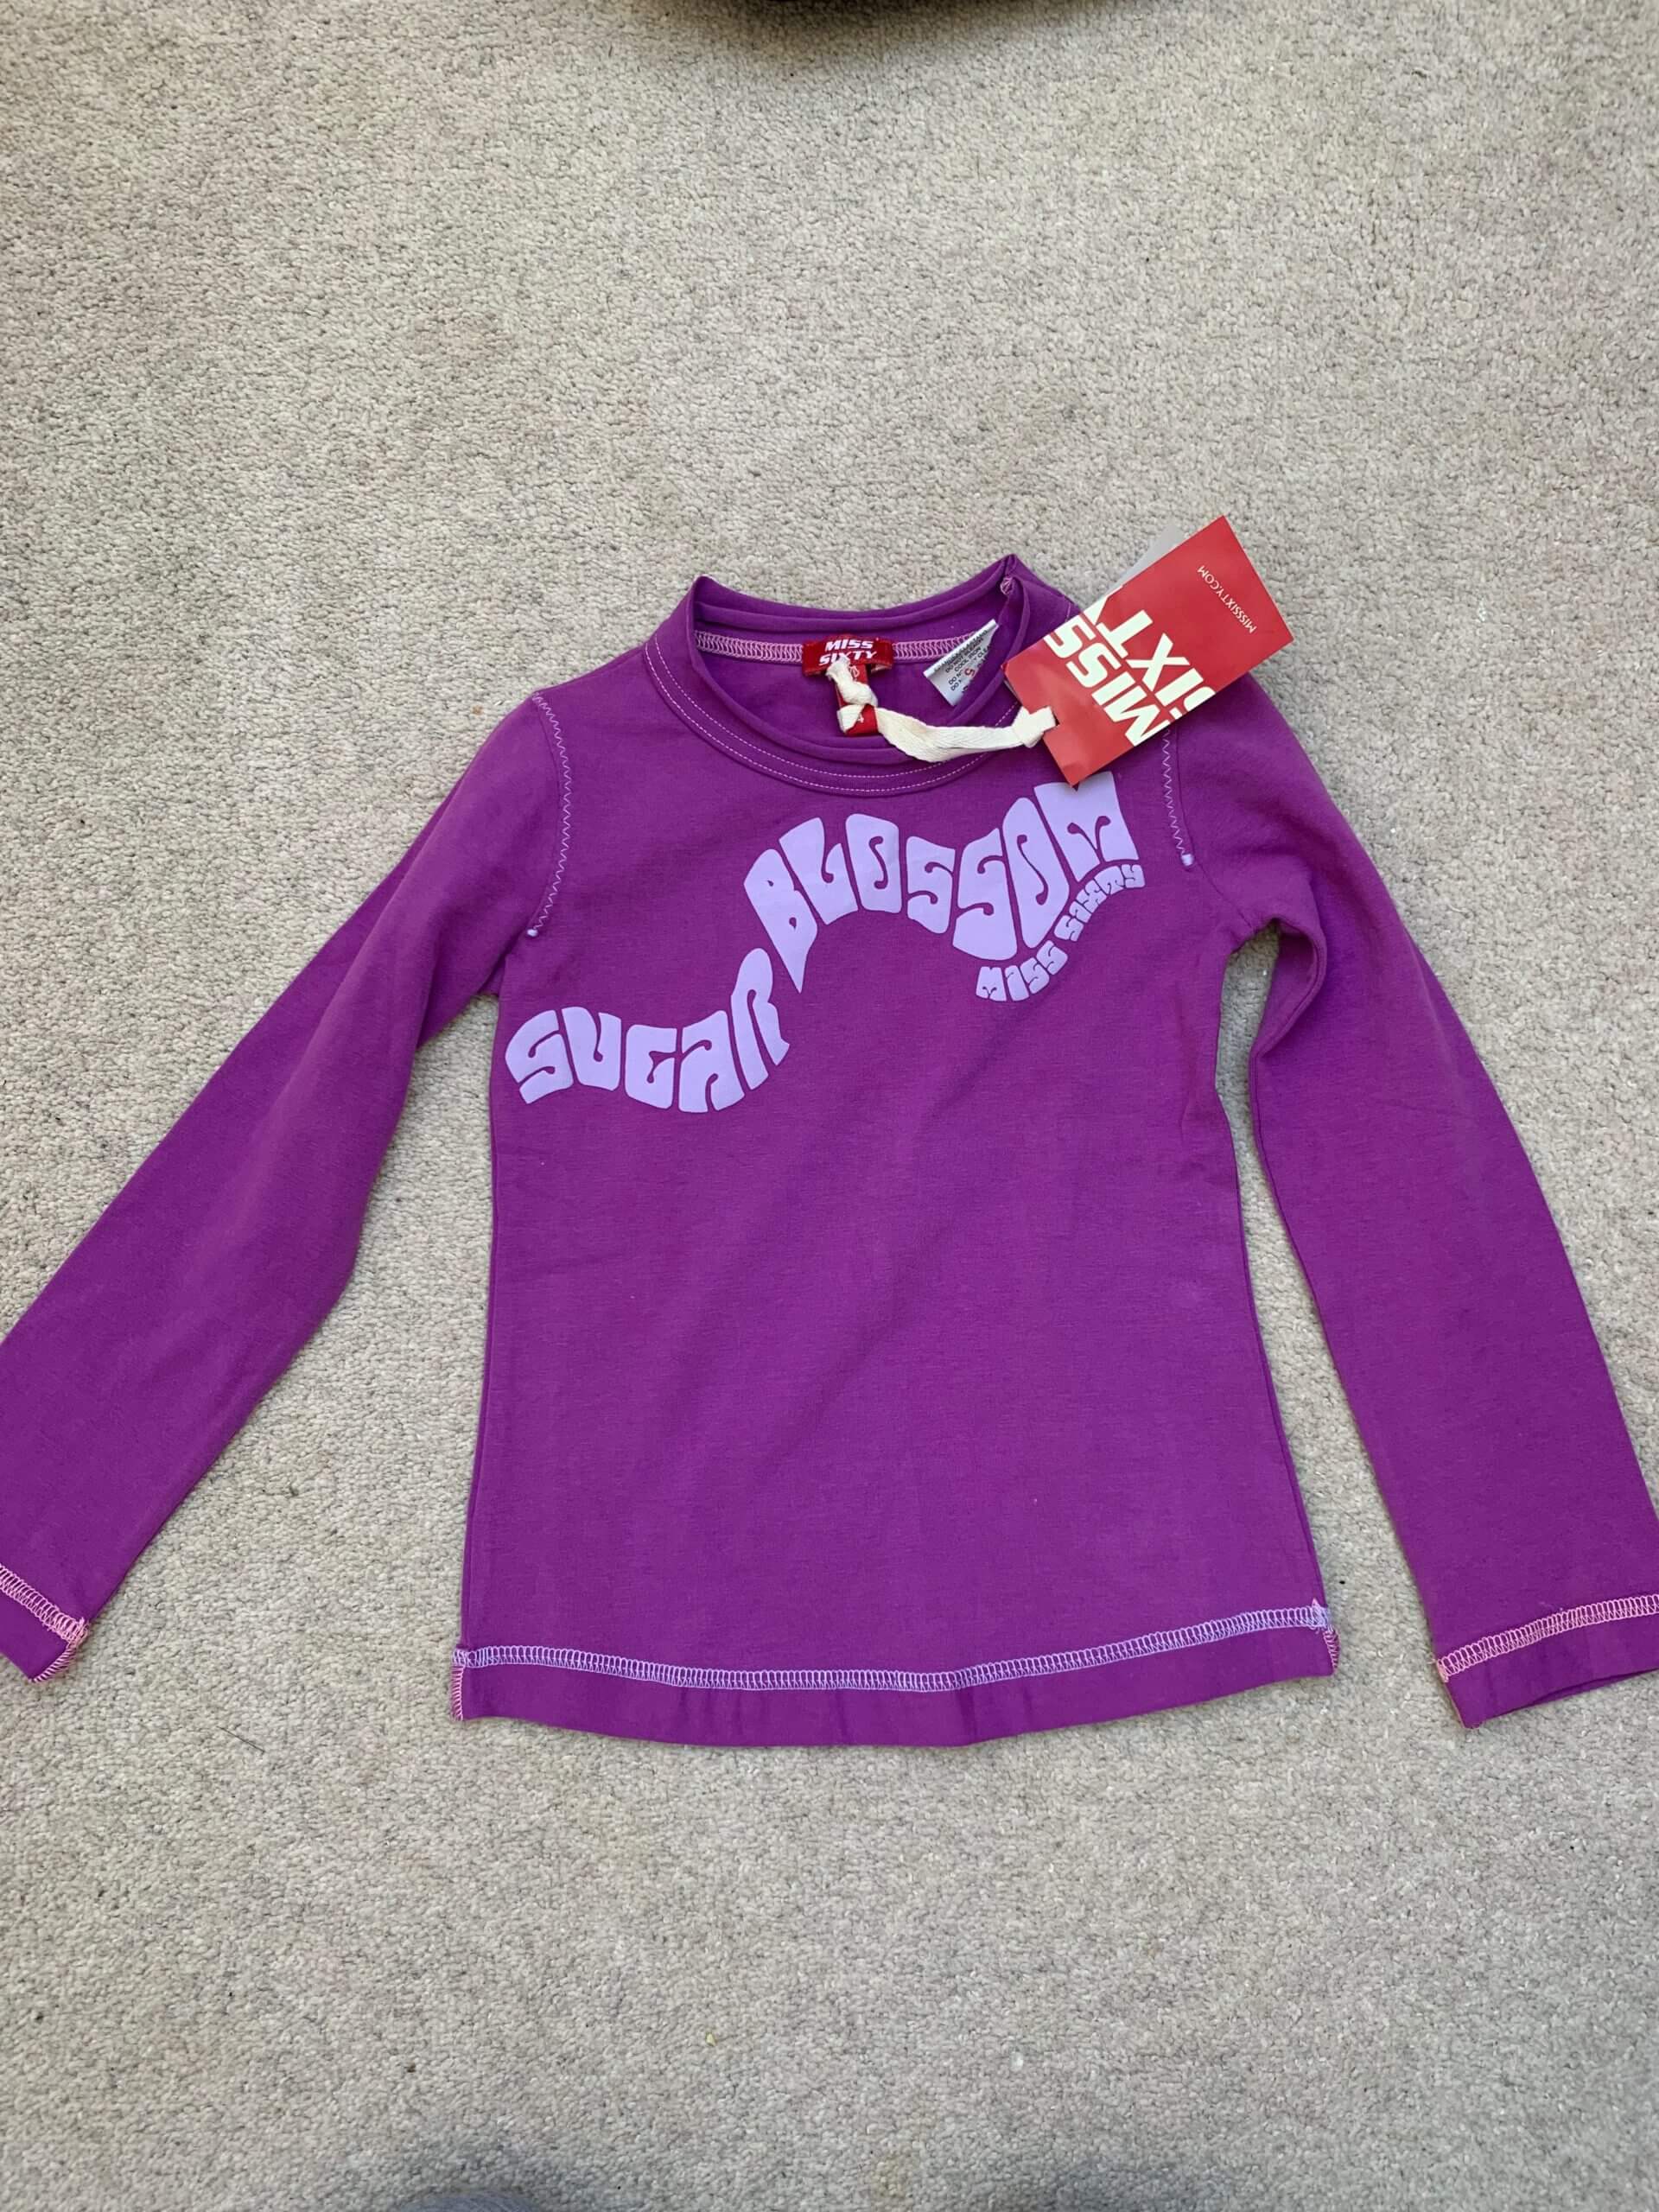
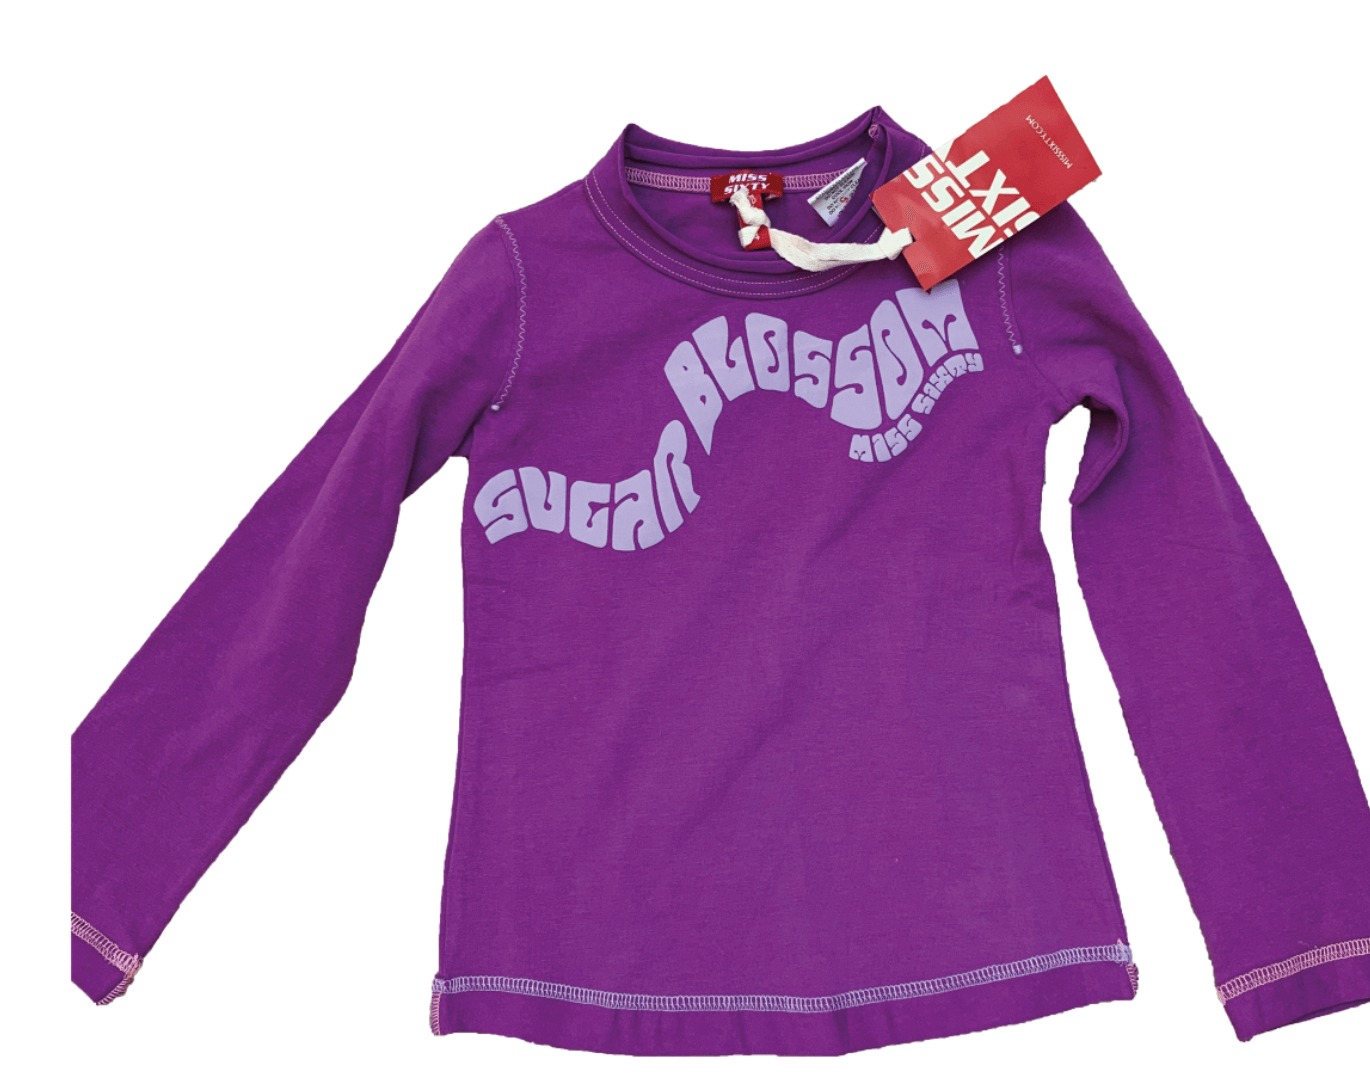
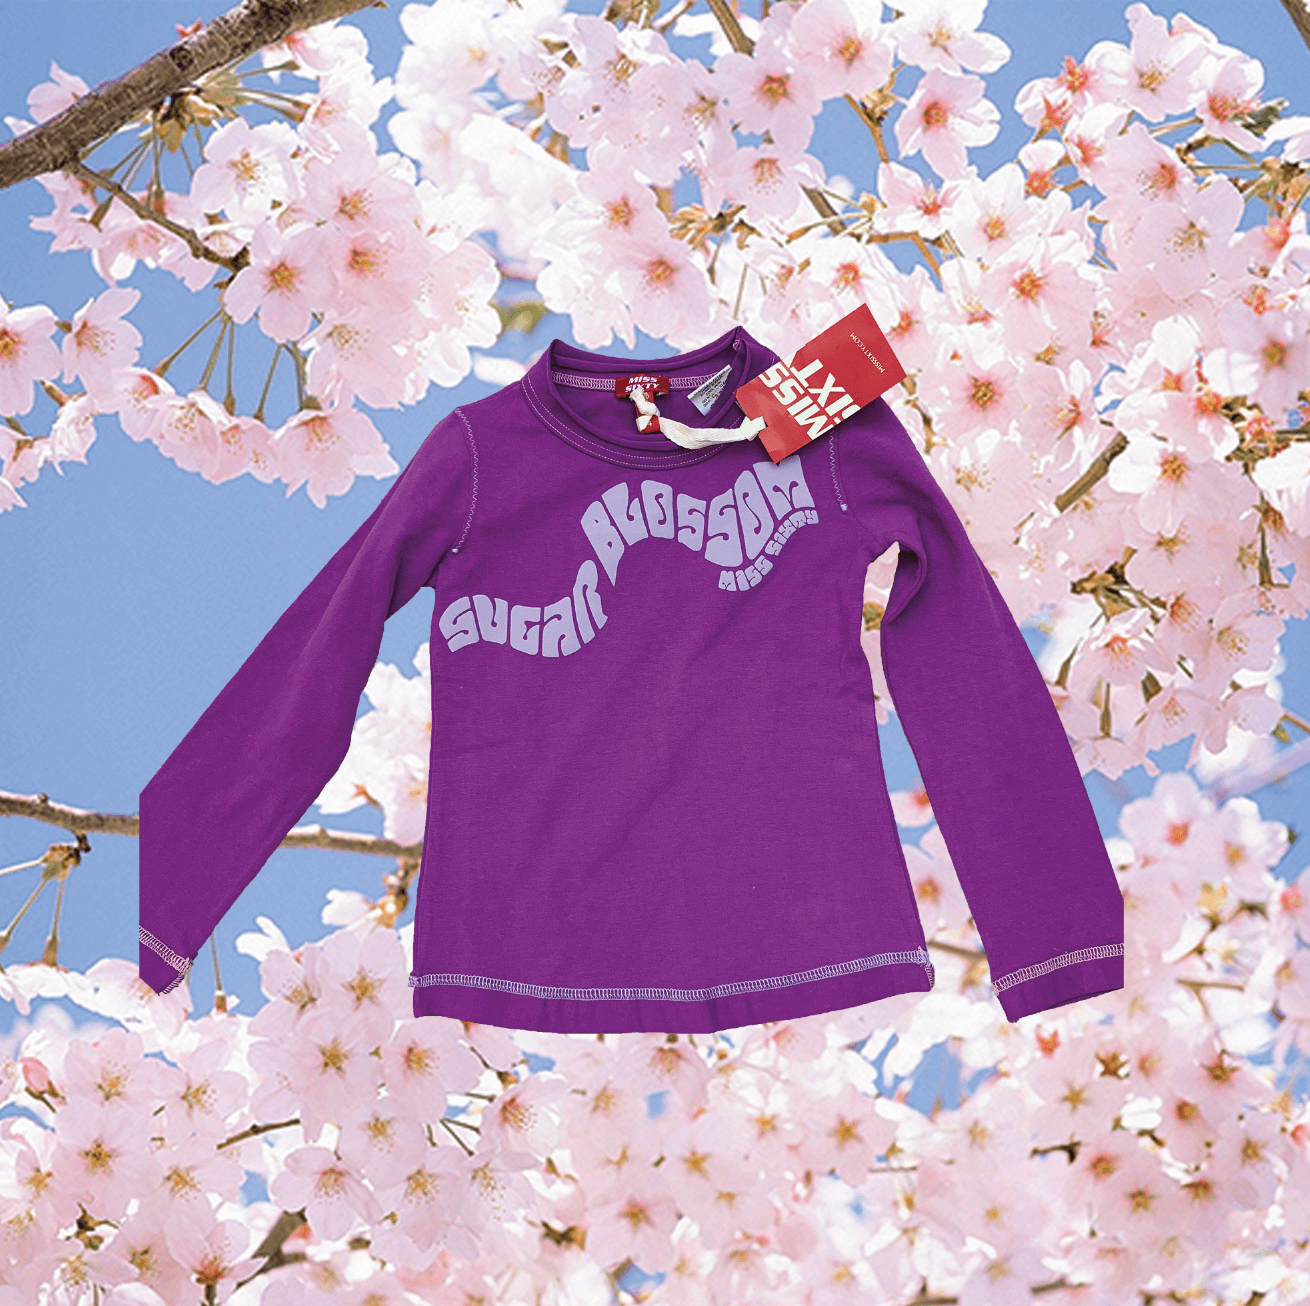
For my first idea, I chose to do a simple cut out in order to get familiar with the software. My job involves selling second-hand clothes, so I decided to edit some of the clothes that I photograph. For this picture, I used the Quick Selection Tool to select the top from the background. As the background was fairly plain, it was easy to select the top from the background. I then used the mask tool on the layers panel to remove the background. This successfully cut out the top. I then decided to add a background of blossom to make the image more creative. I did this by creating a new layer and placing it under the cut-out image.
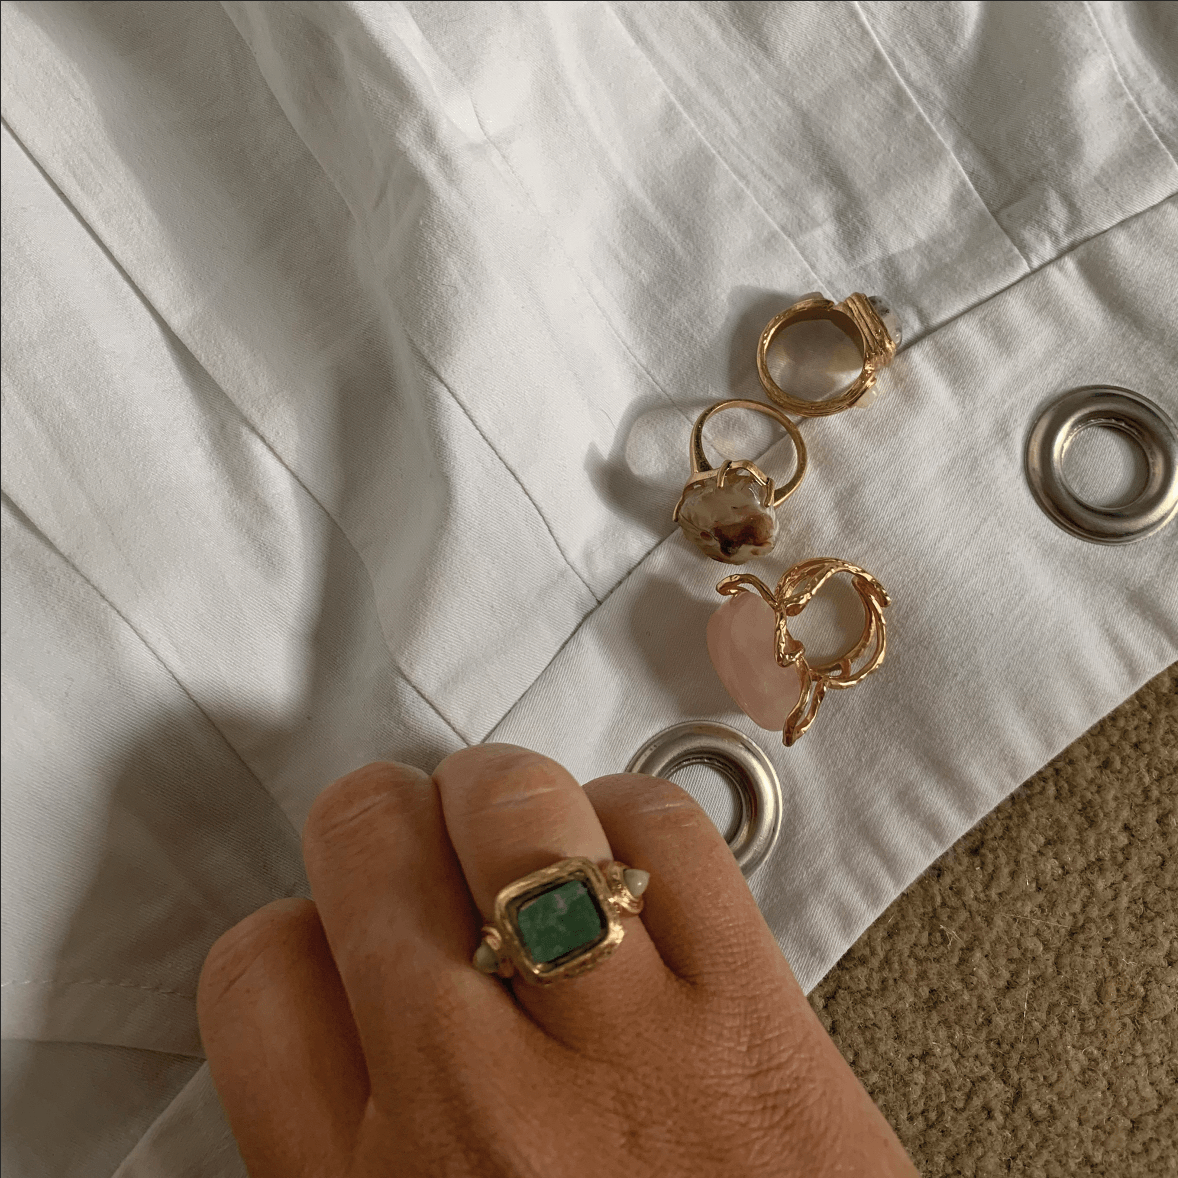
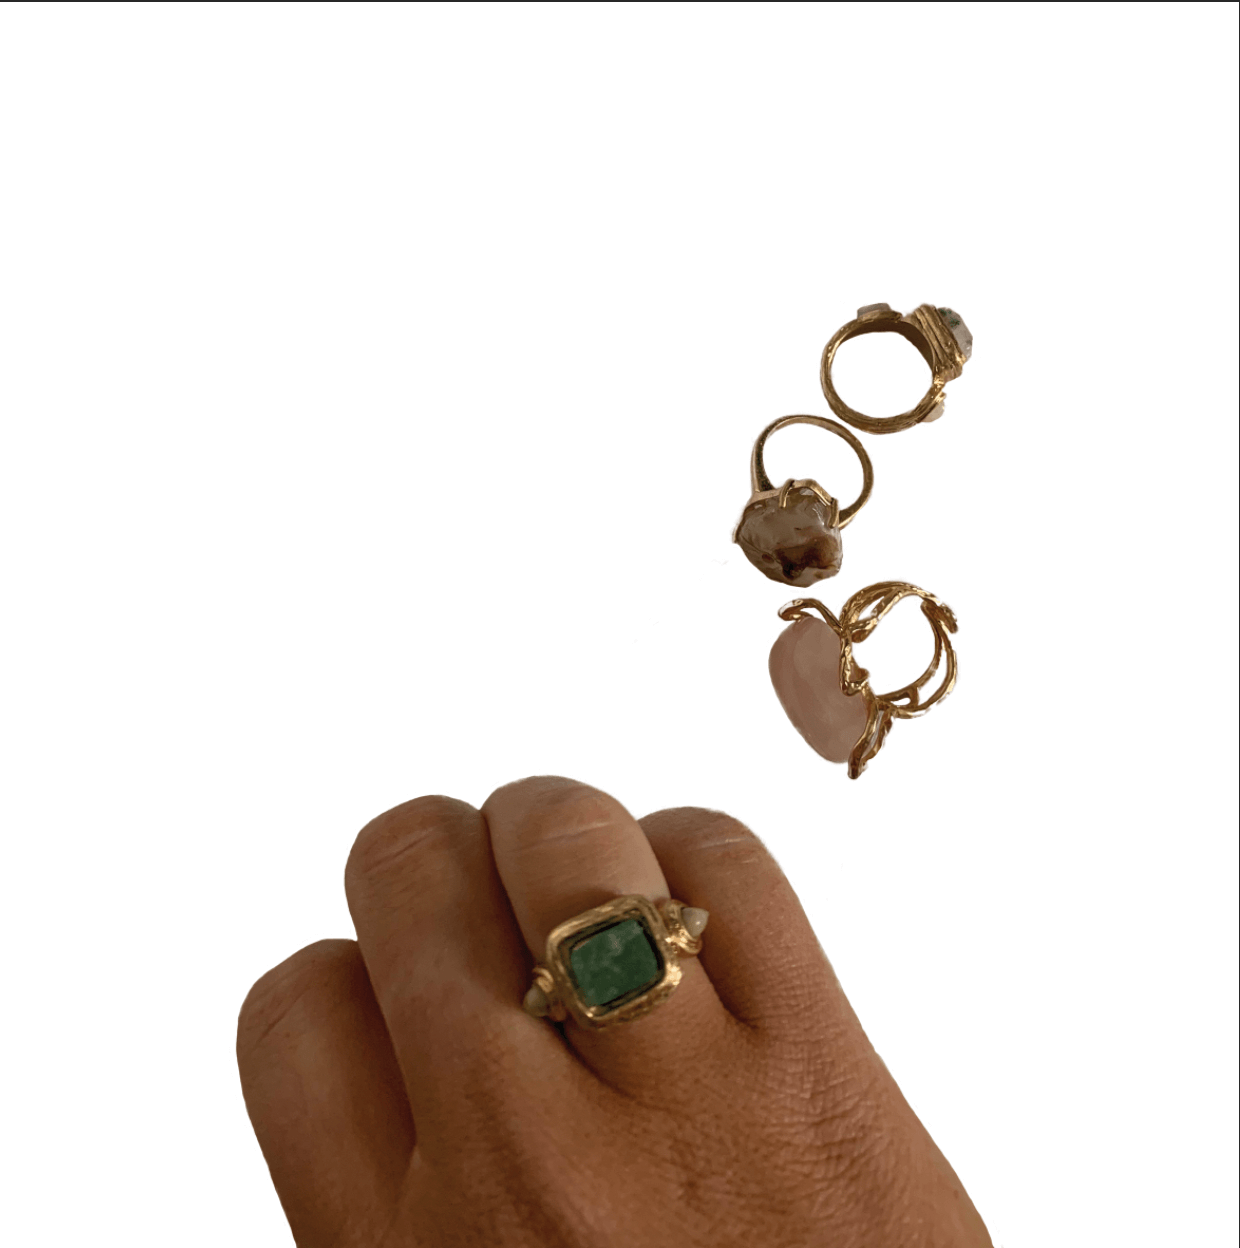
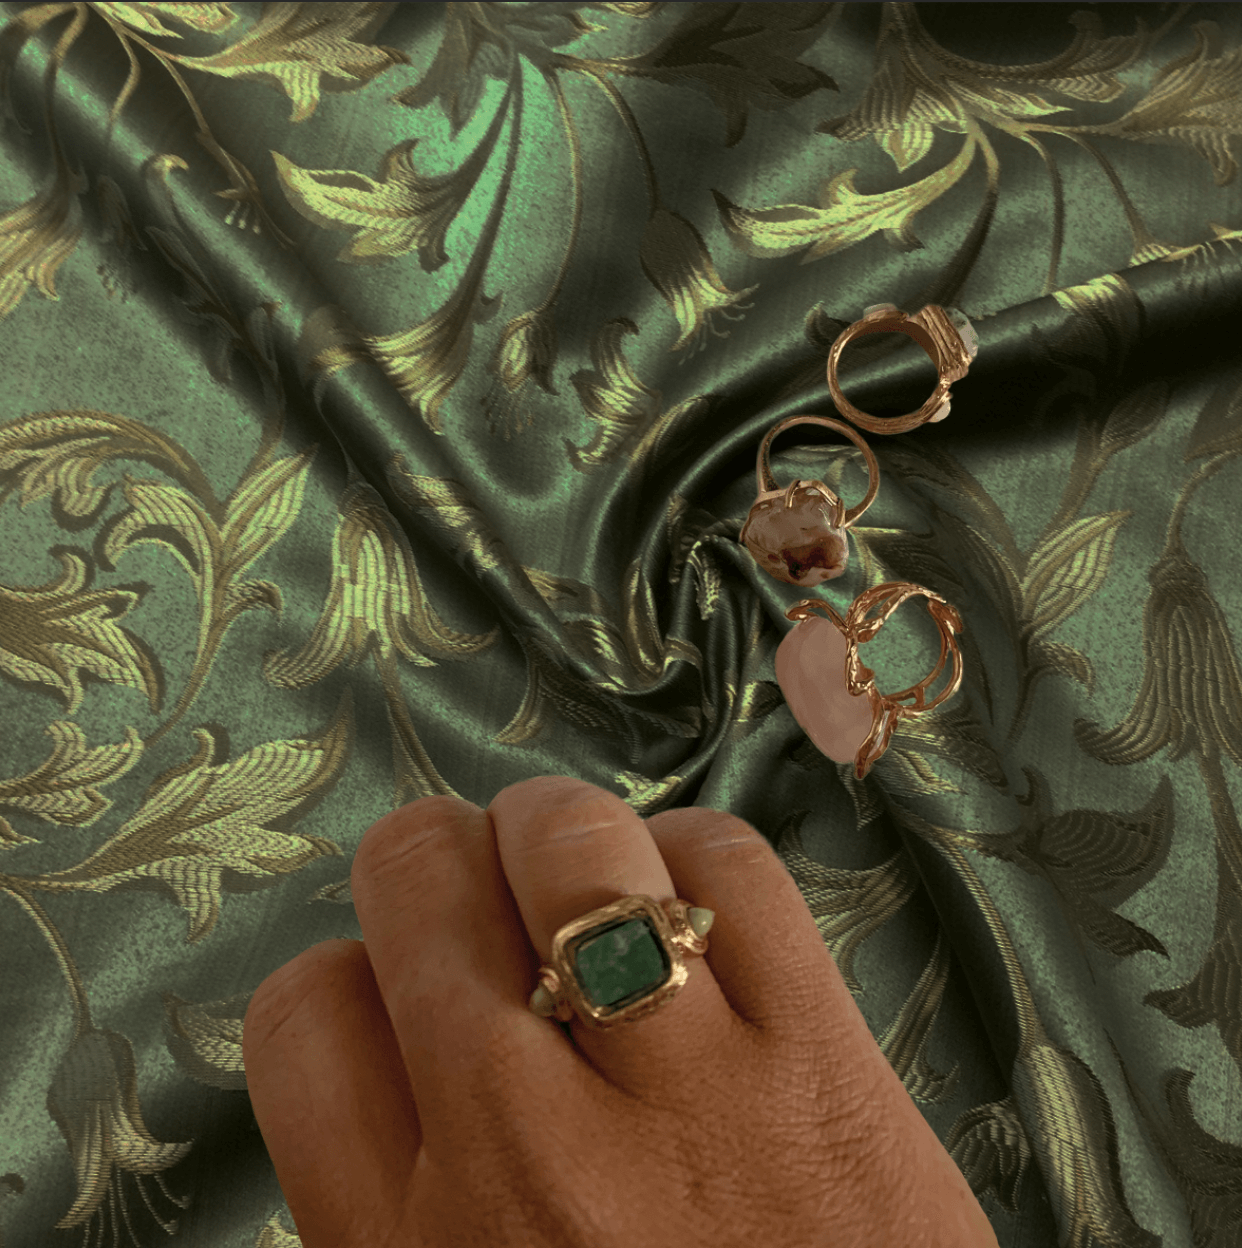
For the second idea, I chose to do a more complex image of a hand and some rings. This was more complex as there was space inside of the rings that I needed to remove. To do this, I instead used the ‘Select and Mask’ option from the ‘Select’ panel. This was fairly accurate in cutting out the image however it did need some refinement, so I used the quick selection tool at a zoomed in point to add or subtract an area to keep or remove. This then created a layer mask, and the background was removed. I used the eraser tool to smooth up any edges that hadn’t already been cut out accurately. I then put it on an exciting background that I felt worked well with the image.
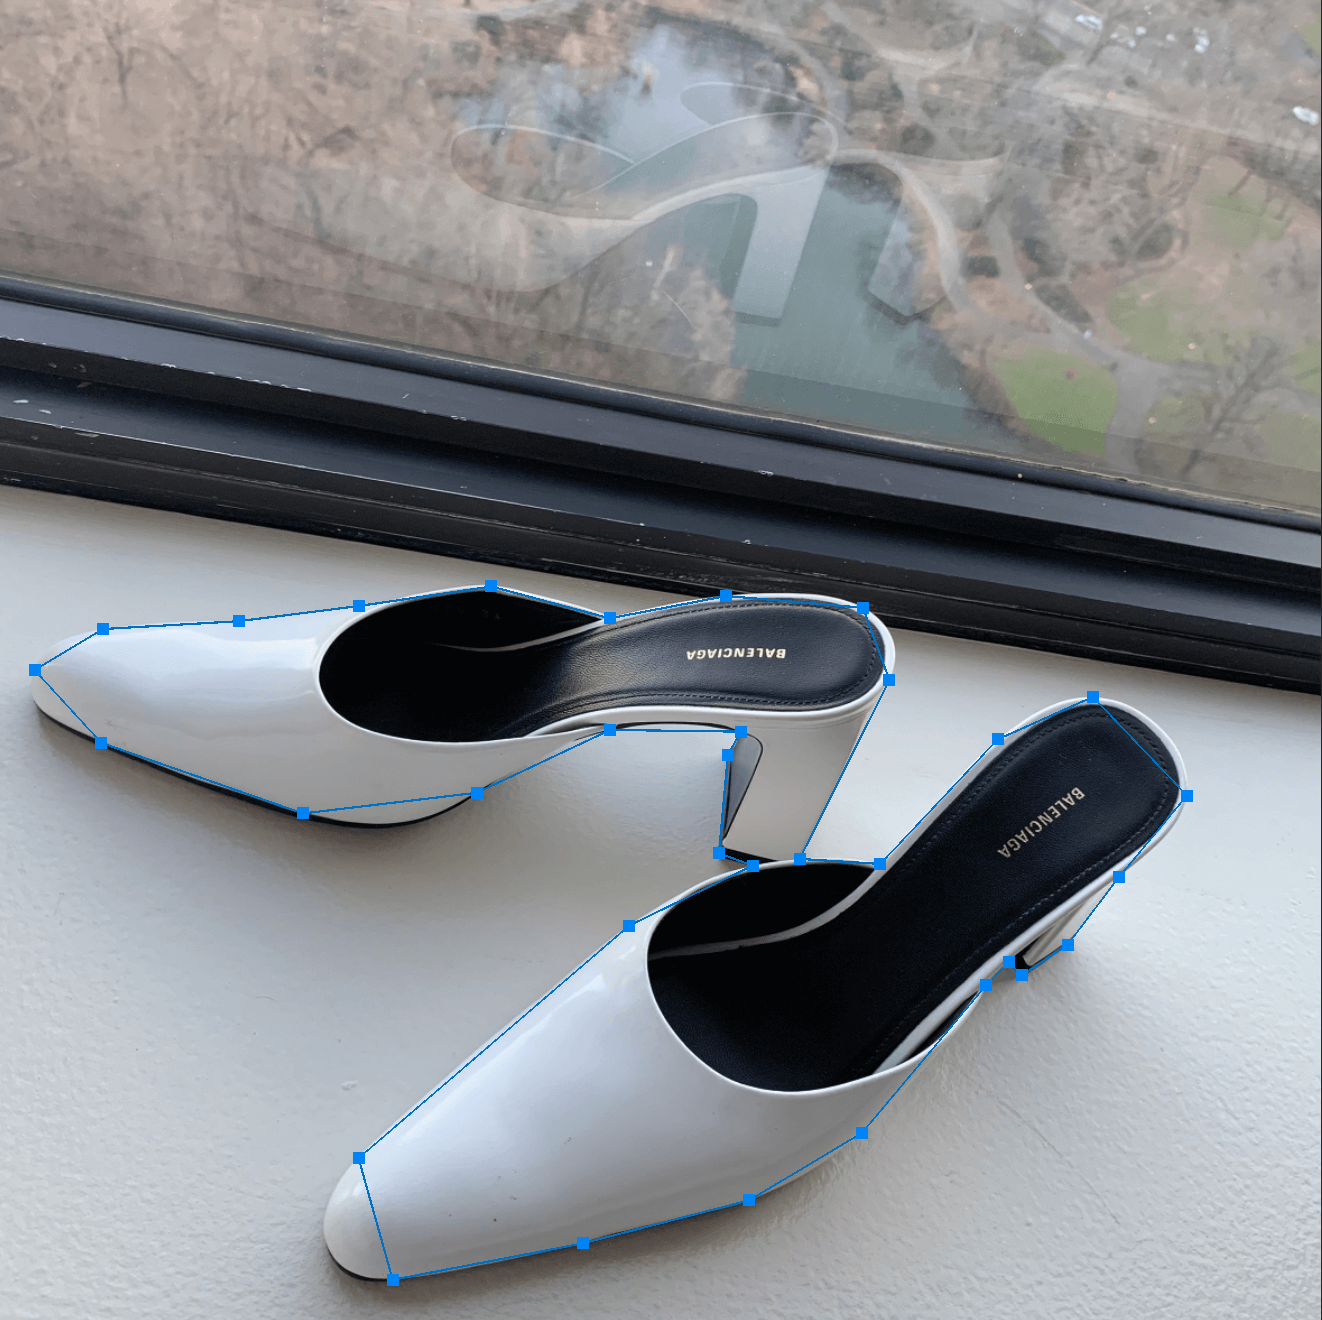
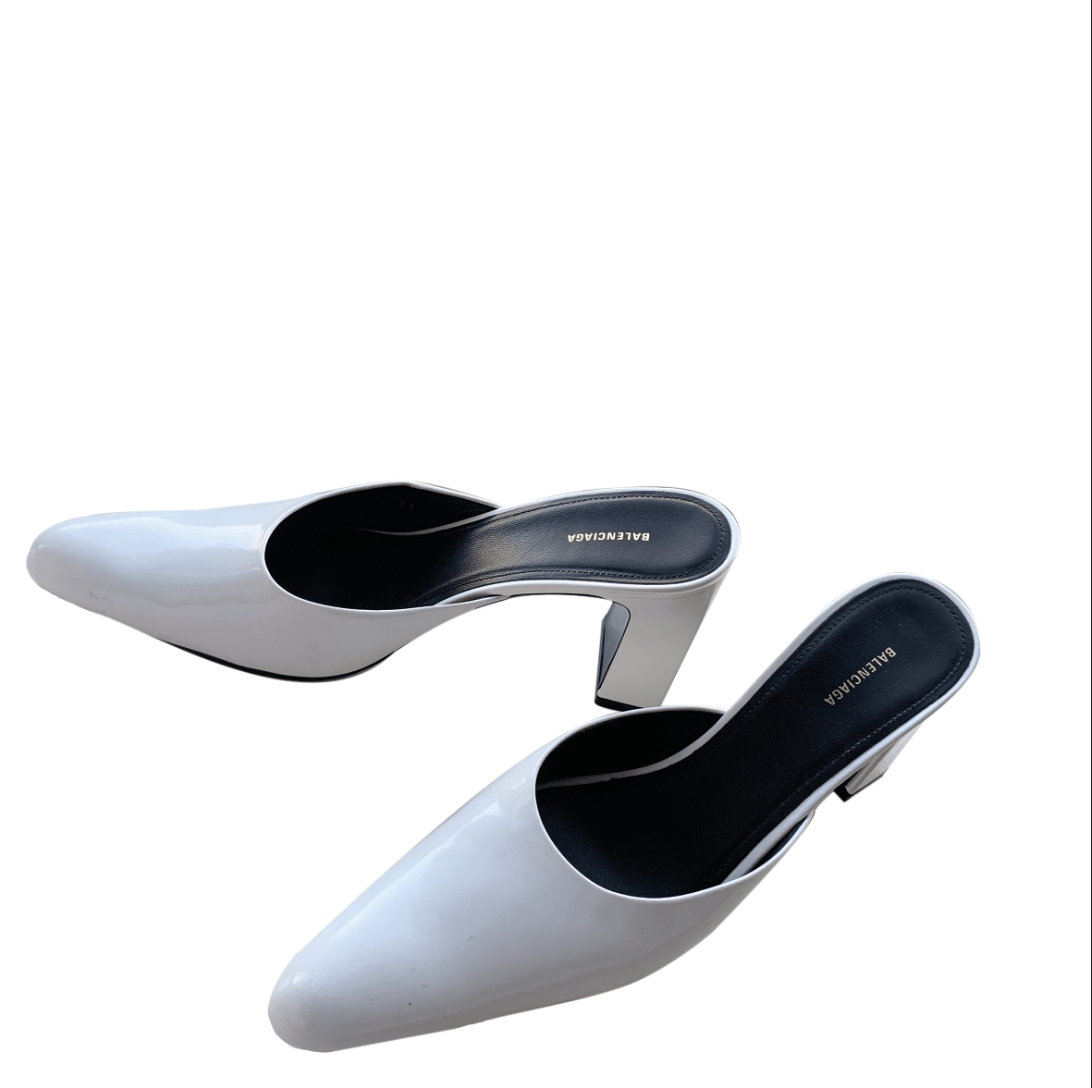
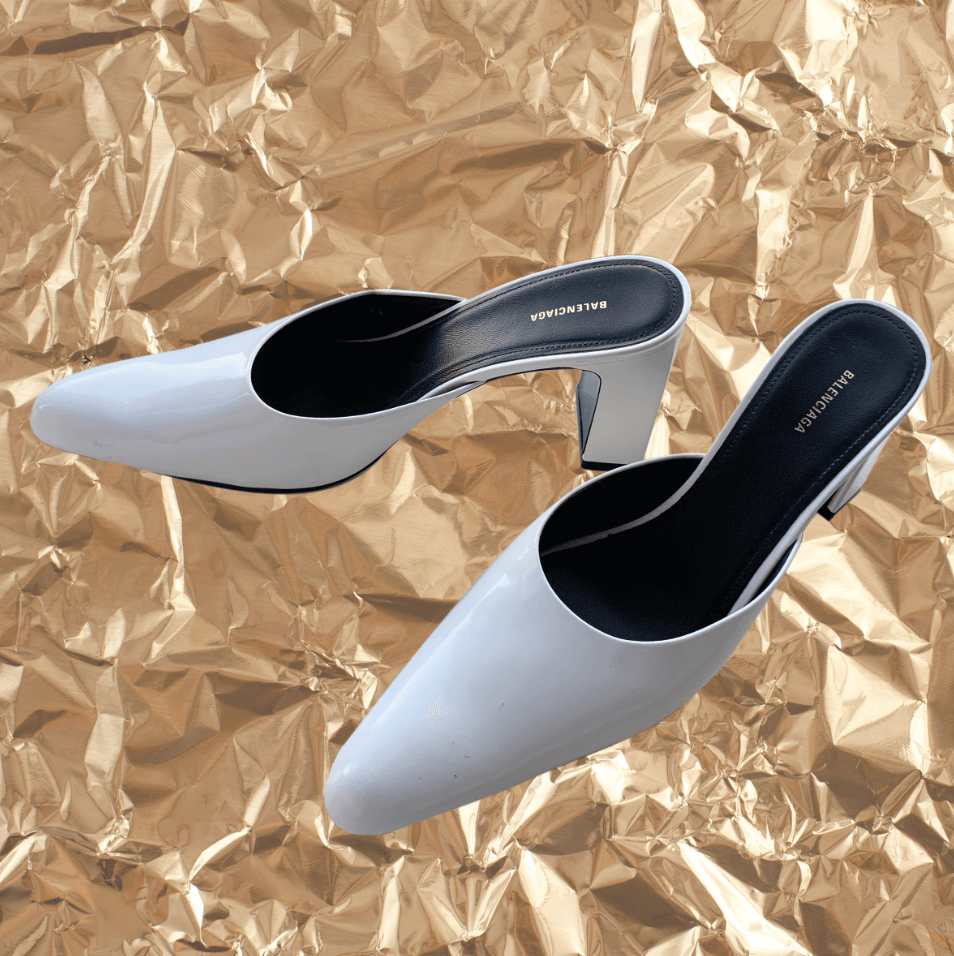
For the third idea, I did another fairly simple image of shoes as I wanted to try a new method of cutting out. This was by the pen tool and I made points along the shoe and then using the convert point tool, curved the points to get an accurate outline of the shoe. After making the path, I right clicked and selected ‘make selection’ and then used a layer mask. This then cut out the shoes from the background which I later replaced with a crinkled gold effect. I also used the eraser to correct any small imperfections.
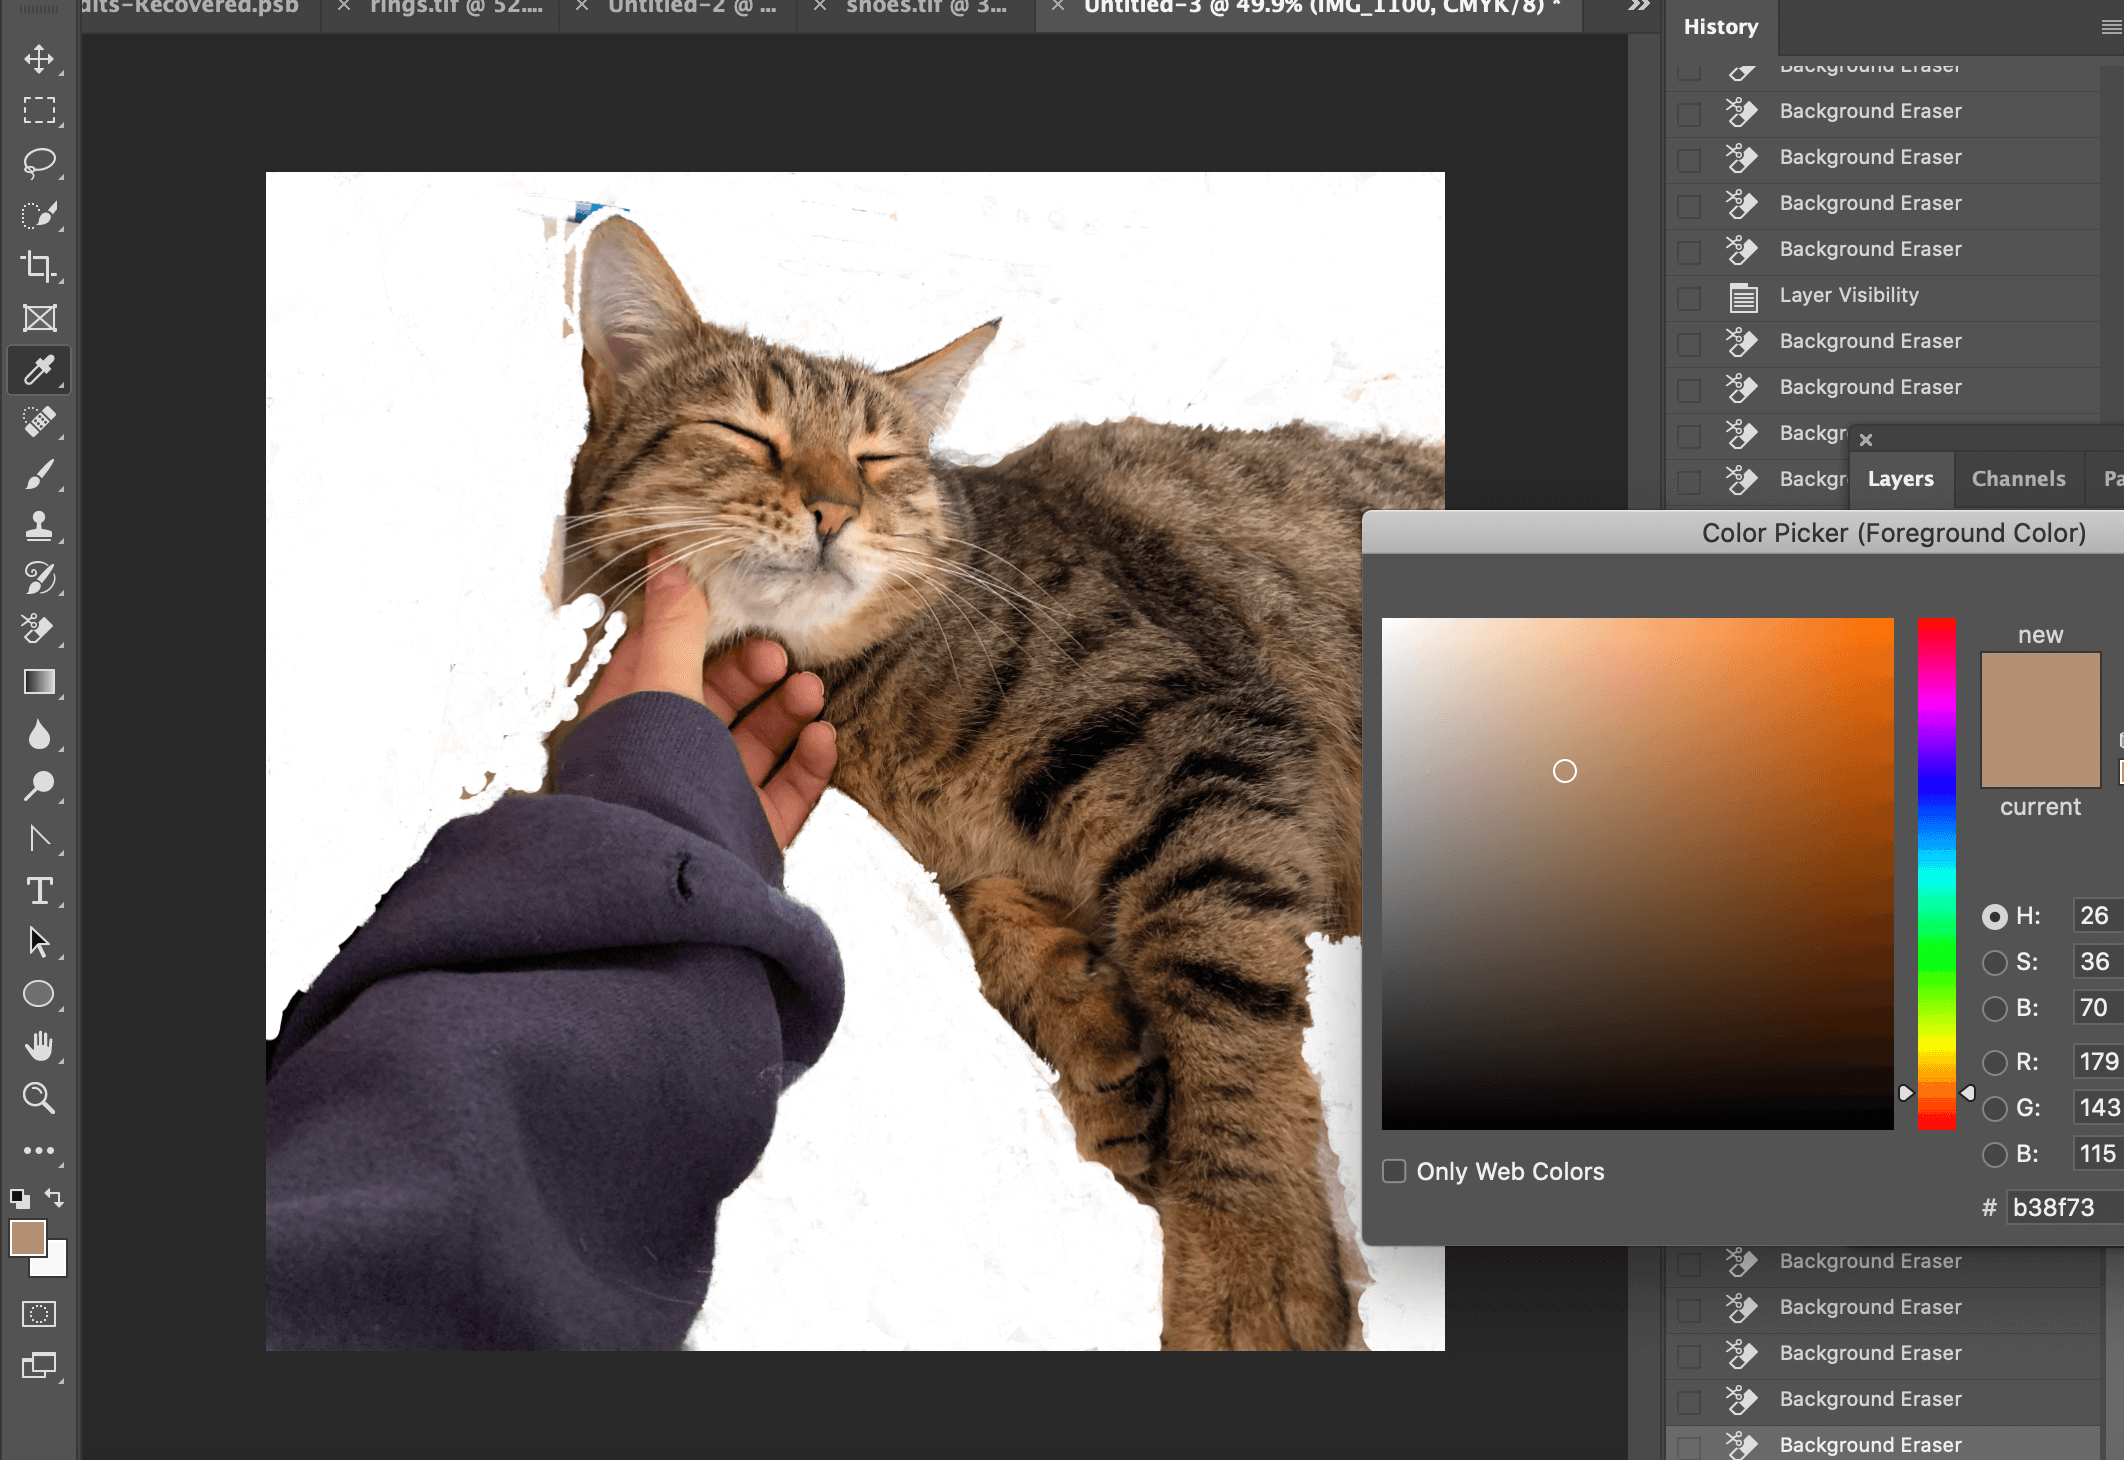
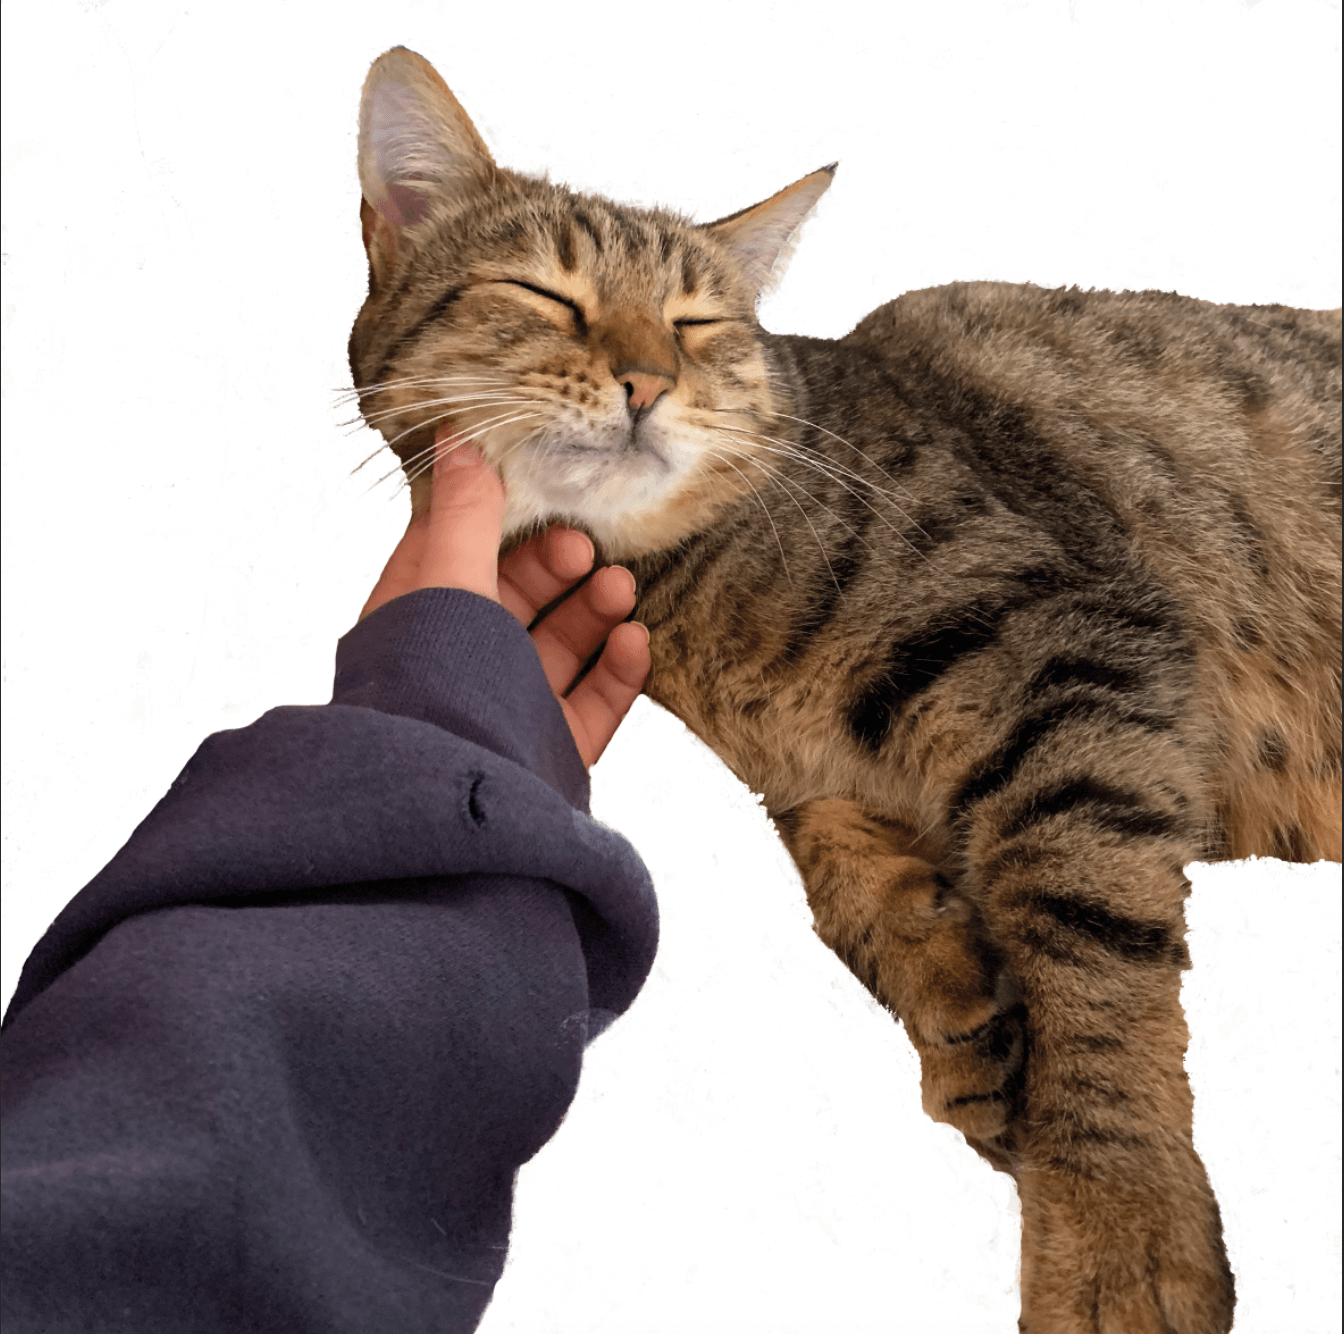
For the 4th idea, I wanted to push myself and use a more complex image with hair. Although it slightly differed from my fashion theme, I felt that the image was still relevant and visually exciting. For this, I used the background eraser tool and the colour picker tool to carefully go around the hair and select the colour that would not be erased. I still think that I need more practice using the method as the picture wasn’t perfect and some hair did get erased as it was similar to the background but felt that I had made a strong starting point.


Software tutorials
Having only ever used the quick selection tool before, I did not know how to cut out complex images or any other methods of cutting out a background. I firstly watched all of the videos provided to us to get a general oversight of how to use different tools to cut out an image. This gave me a good idea of how to use the basics of all methods, especially the quick selection tool.
For the other methods, I used some YouTube videos to help me. For the third idea of the shoes, I decided to use the pen tool and found a very useful video – https://www.youtube.com/watch?v=awN1QVyk51o to show how to cut out the image using the pen tool.
For my most complex image of the cat, I used a YouTube video- https://www.youtube.com/watch?v=Ag-bfUOBaCk explaining how to cut out fine hair. I do think that my image was slightly more difficult as the background colour was similar to the hair so in future, I will explore other methods alongside using this.
The tool that I did not use that we were given tutorial videos for was the lasso tool so this is something I would like to use and explore in the future. I would also like to explore other areas in Photoshop to edit the actual image such as how to adjust the quality of the image.
Resources for research and inspiration:
As I was only cutting the images out, it was difficult to get inspiration from anywhere other than the YouTube videos I was watching. There were many different methods to choose from but I decided to use the ones that were most popular as they worked the best. I chose the theme that I did because creative image editing is becoming increasingly popular in the media with people using Photoshop themselves to create cut-out images of fashion and psychedelic colours. The model Mimi Moocher has become an icon for creating these large cut-out collage images depicting her dressed in cool outfits and it is becoming a rapid paced trend on social media. As I have a keen interest in art and fashion, being able to cut out images on Photoshop and create these sorts of images is very beneficial. Photoshop is allowing people to present their pictures in a different way to everyone else and its very interesting to see what individuals create. I would like to also work on editing the actual image on Photoshop in order to produce high quality edits.
Images of Mimi Moocher found on https://www.vogue.co.uk/news/article/mia-regan-balmain-pre-fall-2021


