
This larger scanner, located in the Resource Centre and prioritised for collections use, is useful if your source material is bigger than A4. It cannot be moved out of the collections area.
Connecting to the scanner
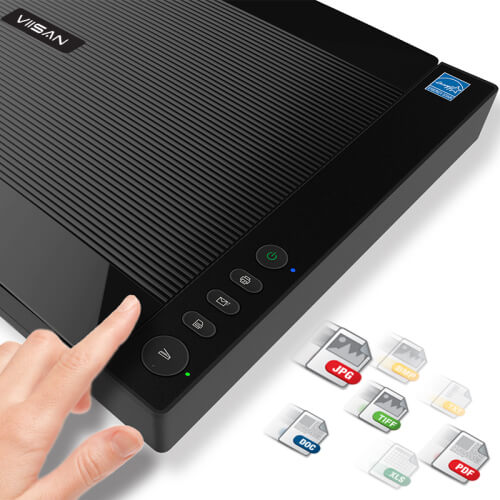
- Plug the scanner into a power outlet and switch it on using the switch on the top. A blue light will come on.
- Switch it on using the switch on the top).
- Connect your laptop to the scanner via the USB-C cable attached to scanner.
- Note that only the power button on the scanner is functional in our context. Ignore the other buttons – you need to use software to control the scanner.
Installing drivers
- Download the scanner driver from Viisan.
- Look for the VF3240 driver for your operating system
- The website should contain the latest drivers, but we also have an archive here:
- Mac driver
- Windows driver is too large for us to host.
- Extract and run the downloaded setup app.
Using the scanner
Mac
- Make sure the scanner is powered on and connected to your laptop via USB.
- Macs come with an app called ‘Image Capture’. Find it and open it.
- You should now see the Vision scanner listed as ‘VF4320 Scanner’
- Open the scanner and place the document to be scanned, facing downwards on the glass.
- Choose your settings on the right of the window
- Press the ‘overview’ button to get a Quick Look of what’s on the scanner bed. This is not a proper scan, just to help you identify the are for scanning
- Draw rectangles (Marquees) to identify one or more areas to scan. Each rectangle will produce a separate file, so you scan many smaller items in one go.
- When finished, switch the scanner off and put it back to its original place. Tidy up any other materials or tools you have also used.
Windows
- Make sure the scanner is powered on and connected to your laptop via USB.
- Run the Vision Windows software that you previously installed
- Open the scanner and place the document to be scanned, facing downwards on the glass.
- Choose your settings
- Press the ‘overview’ button to get a Quick Look of what’s on the scanner bed. This is not a proper scan, just to help you identify the are for scanning
- Draw rectangles (Marquees) to identify one or more areas to scan. Each rectangle will produce a separate file, so you scan many smaller items in one go.
- When finished, switch the scanner off and put it back to its original place. Tidy up any other materials or tools you have also used.